The driveway approach is tempting. A tube of touch-up paint, a $40 dent puller, and a YouTube video can make DIY auto body repair look straightforward. Sometimes it is. Other times, a well-intentioned home repair ends up costing more to fix than the original damage would have.
The honest answer isn't "always DIY" or "always go professional." It depends entirely on the repair type, the car's systems, and the car owner's skill level. Some repairs (clear coat scratches, minor dents, surface paint chips) are genuinely within reach for most car owners. Others involve safety systems that no tutorial can substitute for.
This guide separates the two clearly. It covers which repairs are low-risk to attempt at home, which carry real safety consequences if done wrong, and how to avoid the most common DIY mistakes that turn a $50 project into a $500 correction. For those situations where professional work is the right call, finding a qualified auto body shop nearby is a good starting point.
DIY vs Professional Auto Body Repair: Quick Comparison
Before diving into specific repairs, the table below maps common damage types against cost, difficulty, and risk, making it easier to decide which route fits each situation.
| Repair Type | DIY Cost | Pro Cost | Difficulty | Quality Outcome | Risk Level |
|---|---|---|---|---|---|
| Clear coat scratch | $15–$40 | $150–$300 | Low | Good if done carefully | Low |
| Small dent (no paint damage) | $20–$60 | $75–$200 (PDR) | Low–Medium | Good with practice | Low |
| Paint chip touch-up | $10–$30 | $100–$300 | Low | Acceptable (not showroom) | Low |
| Bumper scuff removal | $20–$50 | $200–$500 | Low–Medium | Good | Low |
| Headlight restoration | $15–$40 | $75–$150 | Low | Very good | Low |
| Medium dent (with crease) | $30–$80 | $200–$500 | High | Fair | Medium |
| Bumper crack repair | $30–$60 | $300–$600 | Medium | Fair | Medium |
| Surface rust repair | $30–$80 | $300–$700 | Medium | Fair | Medium–High |
| Full panel touch-up | $60–$150 | $500–$1,500 | Very High | Poor (DIY) | Medium |
| Structural / frame damage | N/A | $1,000–$4,000+ | Not recommended | N/A | Very High |
| Airbag component areas | N/A | Variable | Not recommended | N/A | Extreme |
| ADAS sensor areas | N/A | $300–$1,200+ | Not recommended | N/A | Very High |
Costs reflect 2026 national averages. Labor rates in major metros can run 40–60% higher than rural or suburban markets.
DIY Auto Body Repairs You Can Do Yourself
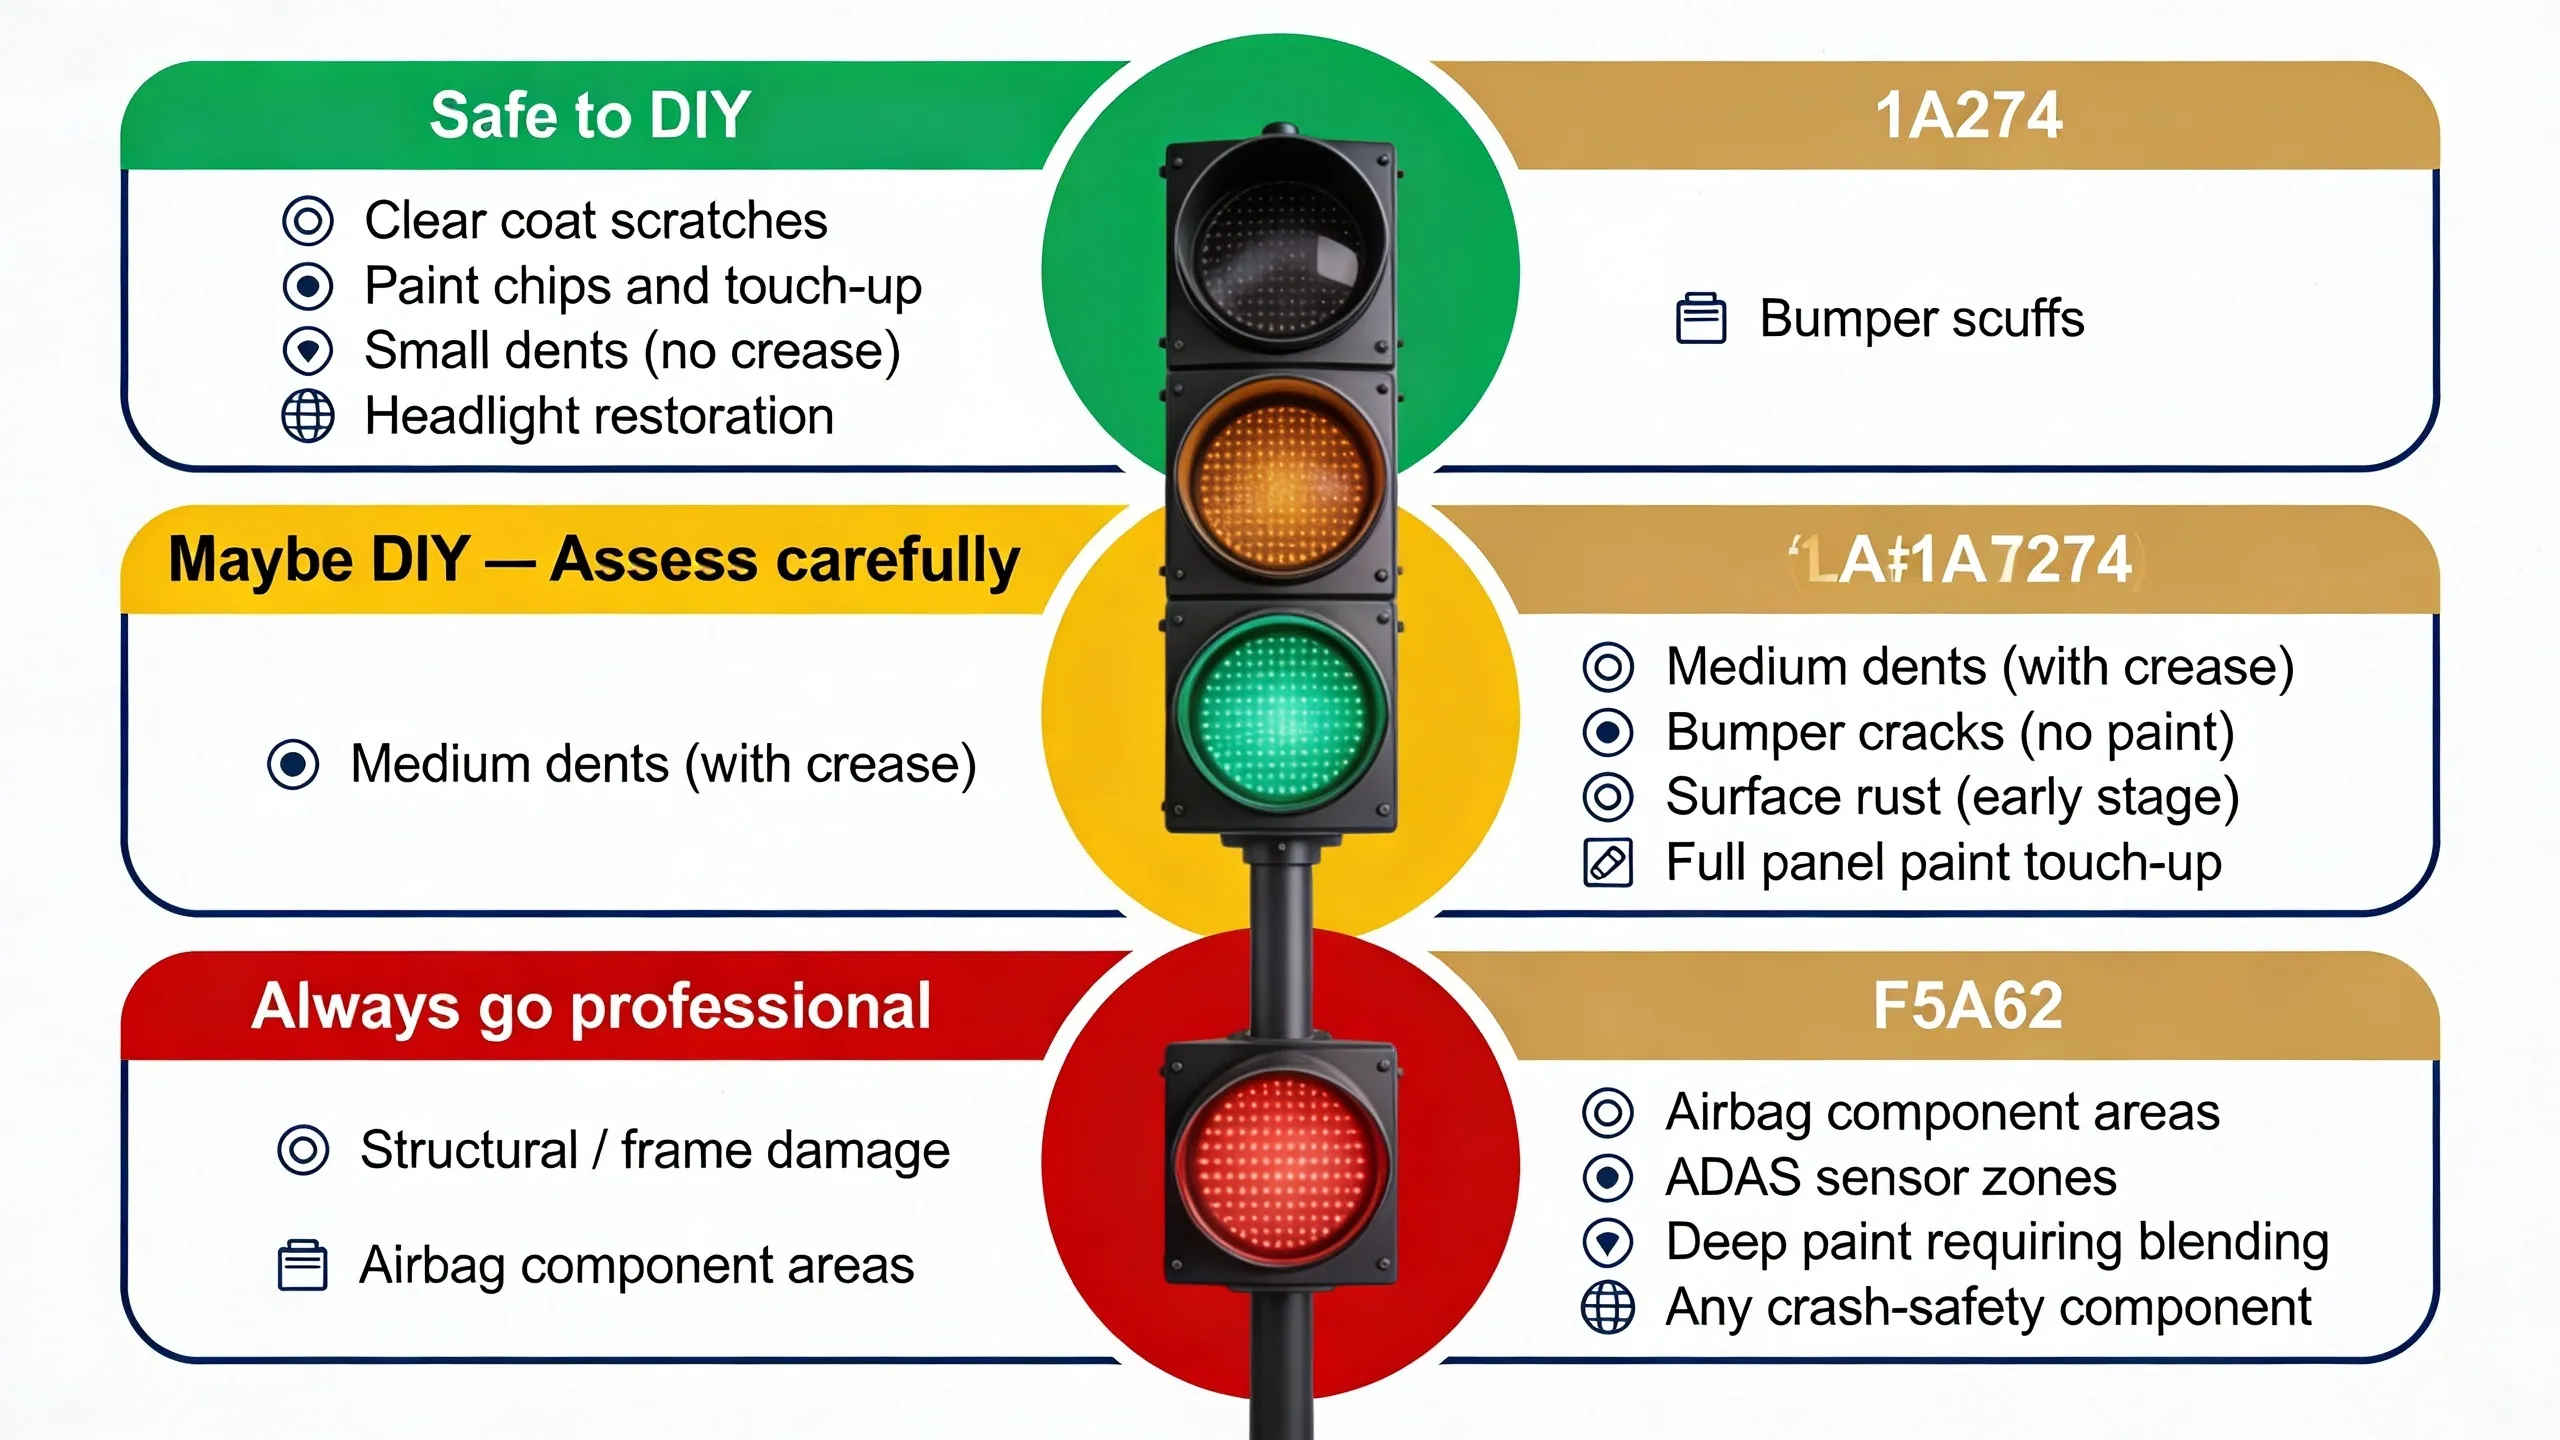
DIY auto body repair works well for clear coat scratches, small dents without paint damage, paint chips, bumper scuffs, and headlight restoration. These are cosmetic repairs that don't involve safety systems. Materials cost $15 to $100, and done carefully with the right products, results are acceptable for most car owners.
Several common types of cosmetic damage fall squarely within DIY territory. These repairs don't involve structural components, safety systems, or complex paint blending. Done correctly, results are good enough that most observers won't notice the work.
Clear Coat Scratches (Rubbing Compound and Polish)
The clear coat is the outermost, transparent layer of a vehicle's paint system. Scratches that only reach this layer (white marks that disappear when wet) can often be buffed out at home with rubbing compound and polish.
The process: apply a small amount of rubbing compound to a microfiber cloth, work it into the scratch using circular motions, then follow with polish to restore gloss. A quick fingernail test helps first: if the nail catches in the scratch, it's likely too deep for compound alone.
DIY cost: $15 to $40 for compound and polish. Professional scratch repair for clear coat damage typically runs $150 to $300 depending on scratch size and location. See the full guide to scratch repair services for a professional cost breakdown.
Small Dents (Suction Cup and Hot Water Methods)
Small dents, roughly the size of a fist or smaller with no paint damage and no sharp creases, can sometimes be removed without professional equipment. Two home methods work reasonably well.
Suction cup method: A quality suction cup dent puller ($20 to $60) works on smooth, accessible dents in flat panel areas. It won't work on edges, character lines, or areas with reinforcement underneath.
Hot water method: For plastic bumpers specifically, pouring hot (not boiling) water over a dent then using hand pressure from behind the panel can allow the plastic to flex back. This works only on minor depressions in plastic parts, not metal panels.
For anything larger or with a crease, paintless dent repair (PDR) typically produces far better results at $75 to $200. PDR uses specialized tools to push dents from behind without disturbing the paint. Learn more about paintless dent repair to compare outcomes.
Paint Touch-Up (Chips and Minor Scratches)
Paint chips and thin scratches that have cut through to bare metal benefit from touch-up paint, which prevents rust from forming. This is maintenance more than cosmetic restoration. Factory touch-up pens and bottles ($10 to $30) rarely achieve a perfect match, but they protect the metal.
Key steps: clean and dry the area, apply touch-up paint in thin coats, allow each coat to fully dry before adding another, then lightly polish the area after the final coat cures. Color accuracy is the biggest variable. Most automakers and third-party suppliers sell VIN-matched paint, which improves results significantly.
Bumper Scuff Removal
Light scuffs on plastic bumpers, marks from tight parking, shopping carts, or minor low-speed contact, often respond to scratch remover polish or a heat gun. The plastic surface can be gently warmed to allow surface marks to fade, then polished.
This works for surface-level marks only. Any cracking, puncturing, or mounting damage moves the repair into professional territory. Detailed professional pricing is covered in the bumper repair cost guide.
Headlight Restoration
Yellowed, hazy headlights are a common issue on vehicles over five years old. UV exposure oxidizes the polycarbonate lens, reducing light output and visibility. DIY restoration kits ($15 to $40) include sandpaper of graduated grits plus a UV sealant and produce genuinely impressive results.
The risk is low and the process is well-documented. This is one area where DIY results often match professional work, at a fraction of the cost. Professional headlight restoration runs $75 to $150 per light.
Auto Body Repairs You Should Never DIY
The following repairs look like cosmetic work but involve systems that directly determine whether a vehicle protects its occupants in a crash. The margin for error is zero, and no amount of skill or preparation makes DIY appropriate here.
Structural and Frame Damage (Safety Risk)
"Frame damage" is a term most car owners recognize, but modern vehicles don't have a traditional ladder frame. They use a unibody structure, meaning the body itself is the structural element. Damage to these components doesn't just look bad. It determines how energy transfers during a collision.

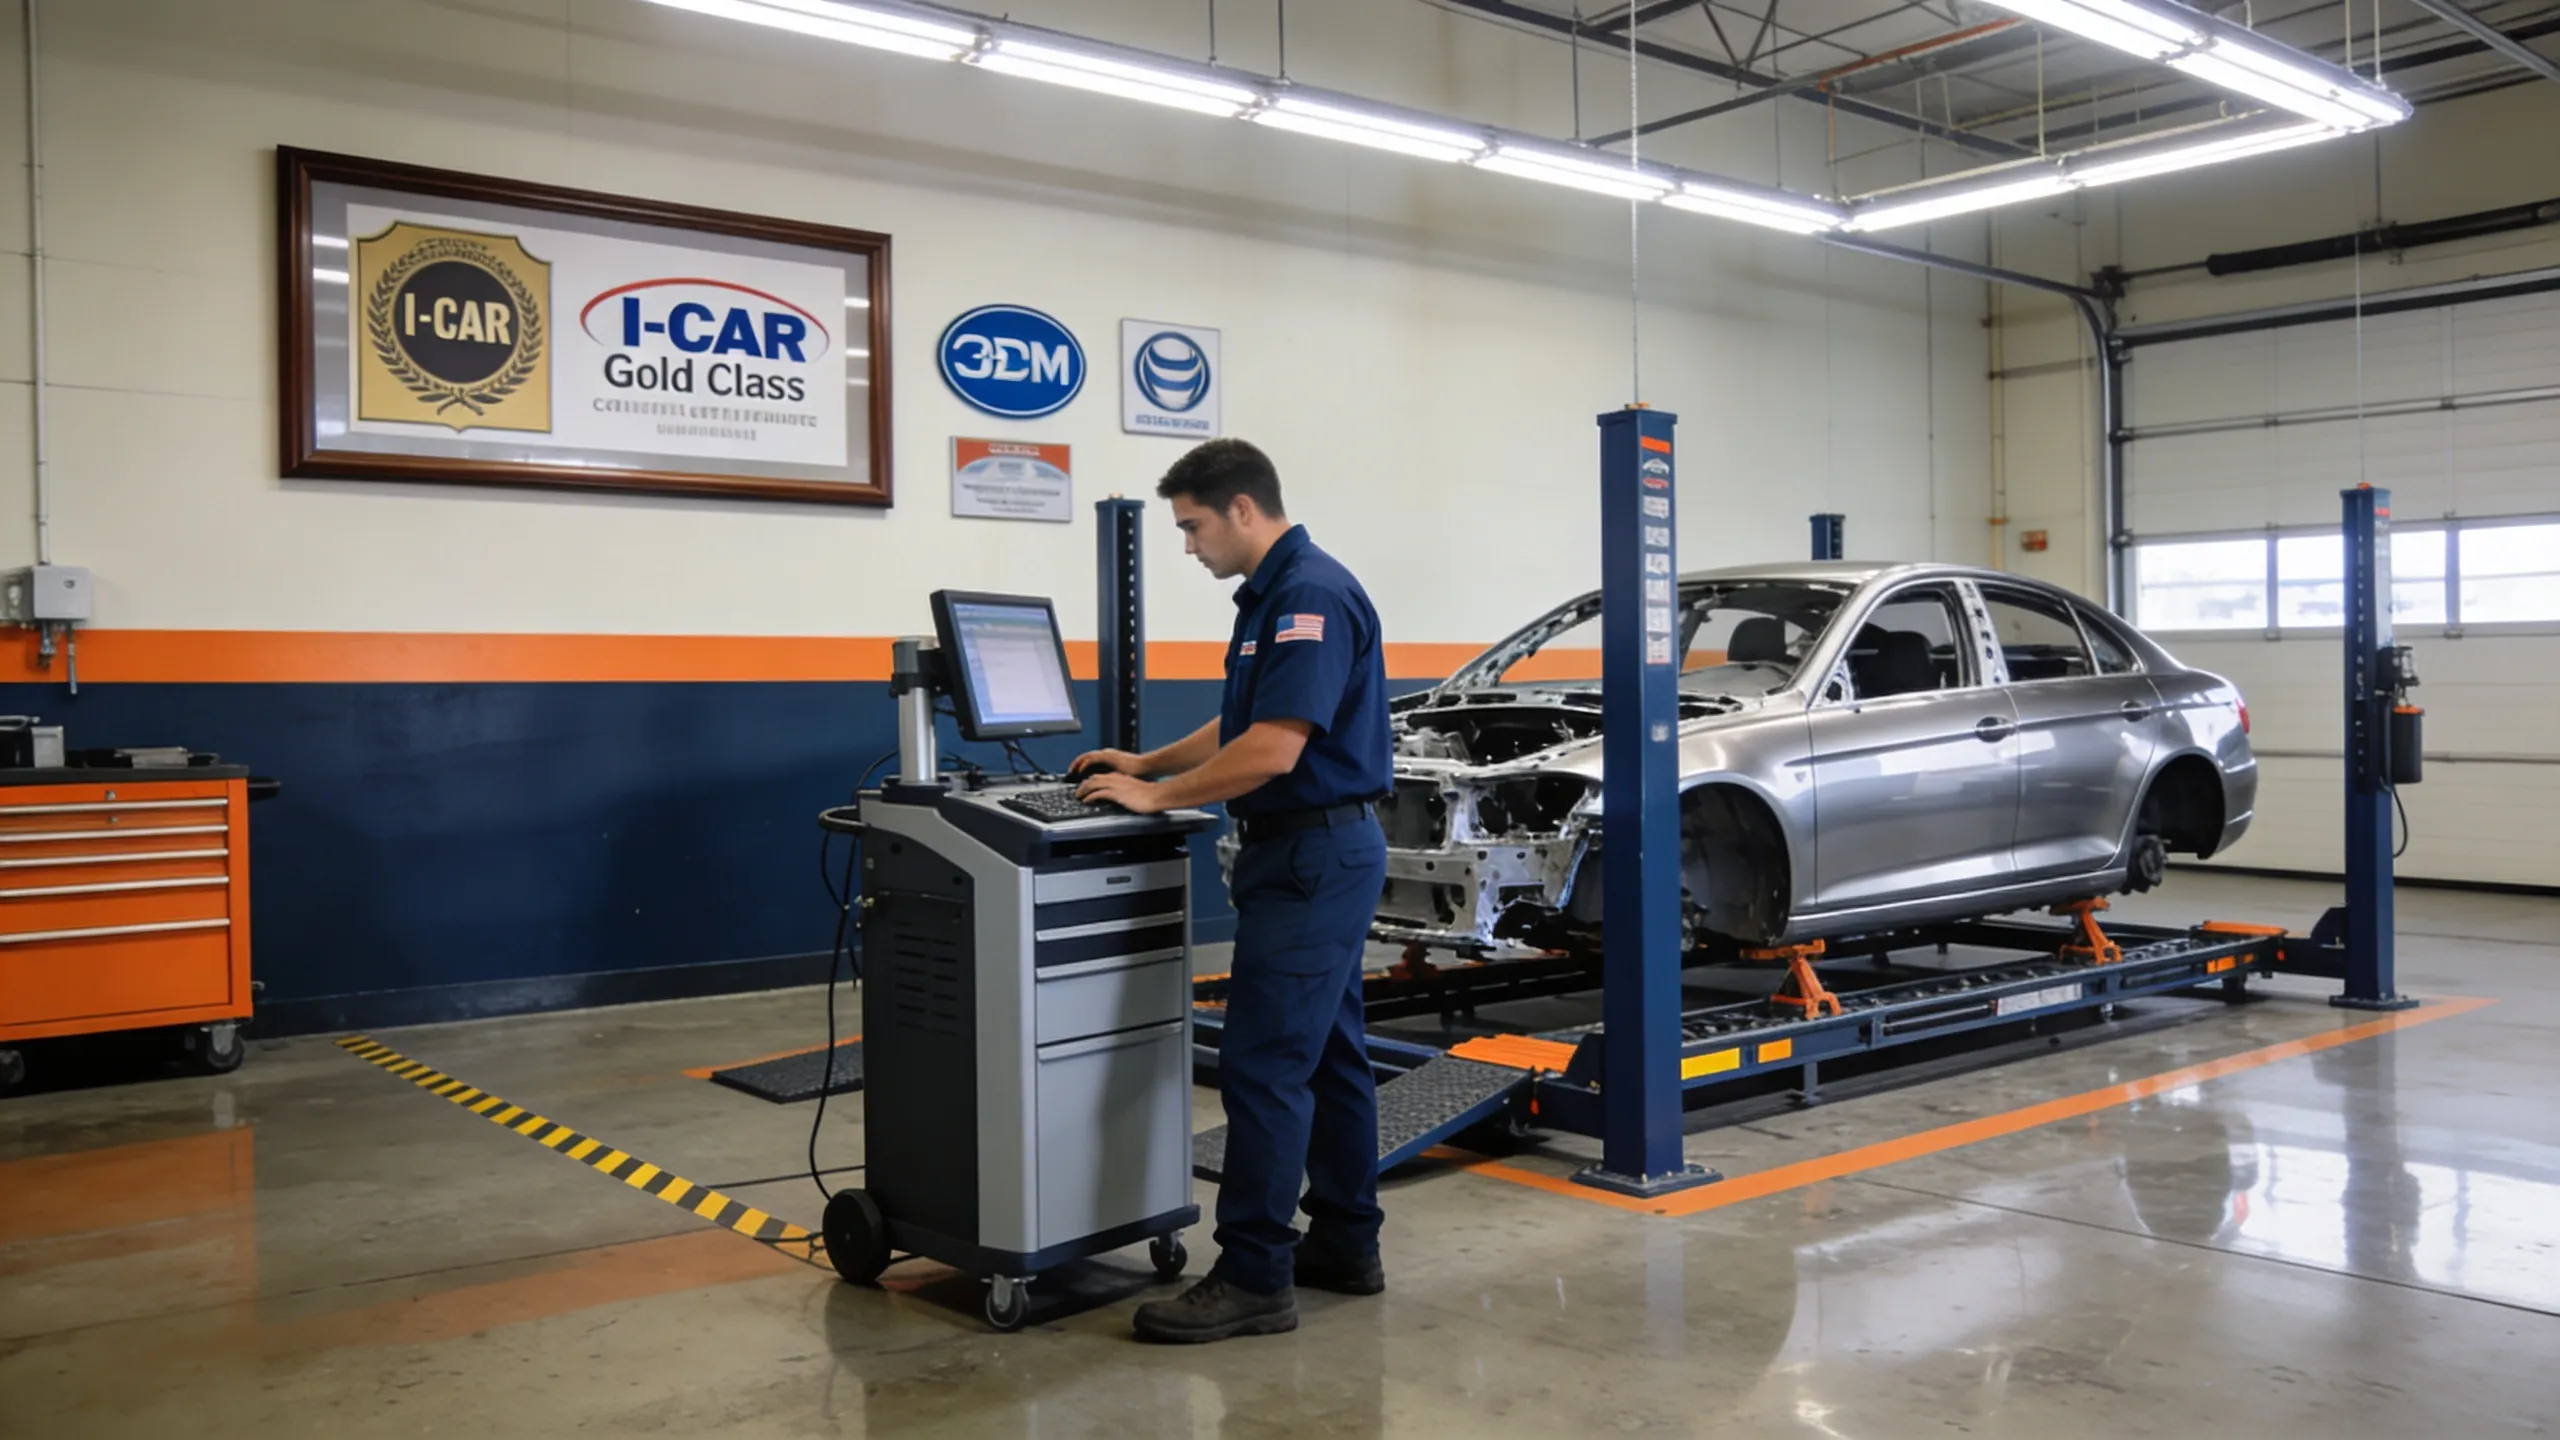
Structural repair requires a frame measuring system, pulling equipment, and knowledge of OEM specifications for metal composition and weld types. Modern vehicles use high-strength steel and advanced high-strength steel (AHSS) in specific areas. These materials can't be repaired with the same methods as conventional steel. Heating them incorrectly reduces their strength permanently. I-CAR research on structural repair documents how AHSS behaves differently from conventional steel and why standard heat application methods are not appropriate.
A DIY approach to structural damage, even a well-intentioned one, can leave a vehicle that looks fine but crumples incorrectly in the next accident. Professional frame repair and structural work must follow manufacturer repair procedures. There's no safe shortcut here.
Airbag Component Areas
Airbag sensors, wiring harnesses, squib connectors, and inflator housings are woven throughout modern vehicles. Side curtain airbags run along the roofline. Front airbags involve sensors in the bumper area. Seat-mounted airbags are in door panels and seat backs.
Disturbing any of these components incorrectly can disable airbag systems without triggering a warning light, or trigger accidental deployment. An airbag deploying during repair can cause serious injury. The NHTSA airbag safety guidelines outline the hazards involved. This is a category with zero exceptions: any repair in or near airbag zones belongs in a professional shop with trained technicians.
ADAS Sensor Areas
Advanced Driver Assistance Systems (ADAS), the technology behind automatic emergency braking, lane departure warning, and adaptive cruise control, rely on precisely positioned sensors. These include cameras mounted at the windshield, radar units behind the front bumper, and ultrasonic sensors along the body perimeter.
Even minor repairs near these sensor mounting points can shift alignment. A camera that's off by a fraction of a degree can mistake lane markings, misjudge stopping distance, or fail to detect a vehicle ahead. After any repair near ADAS sensor zones, professional recalibration is required. For cost details on this step, the ADAS calibration cost guide covers the full pricing picture.
Deep Paint Damage Requiring Blending
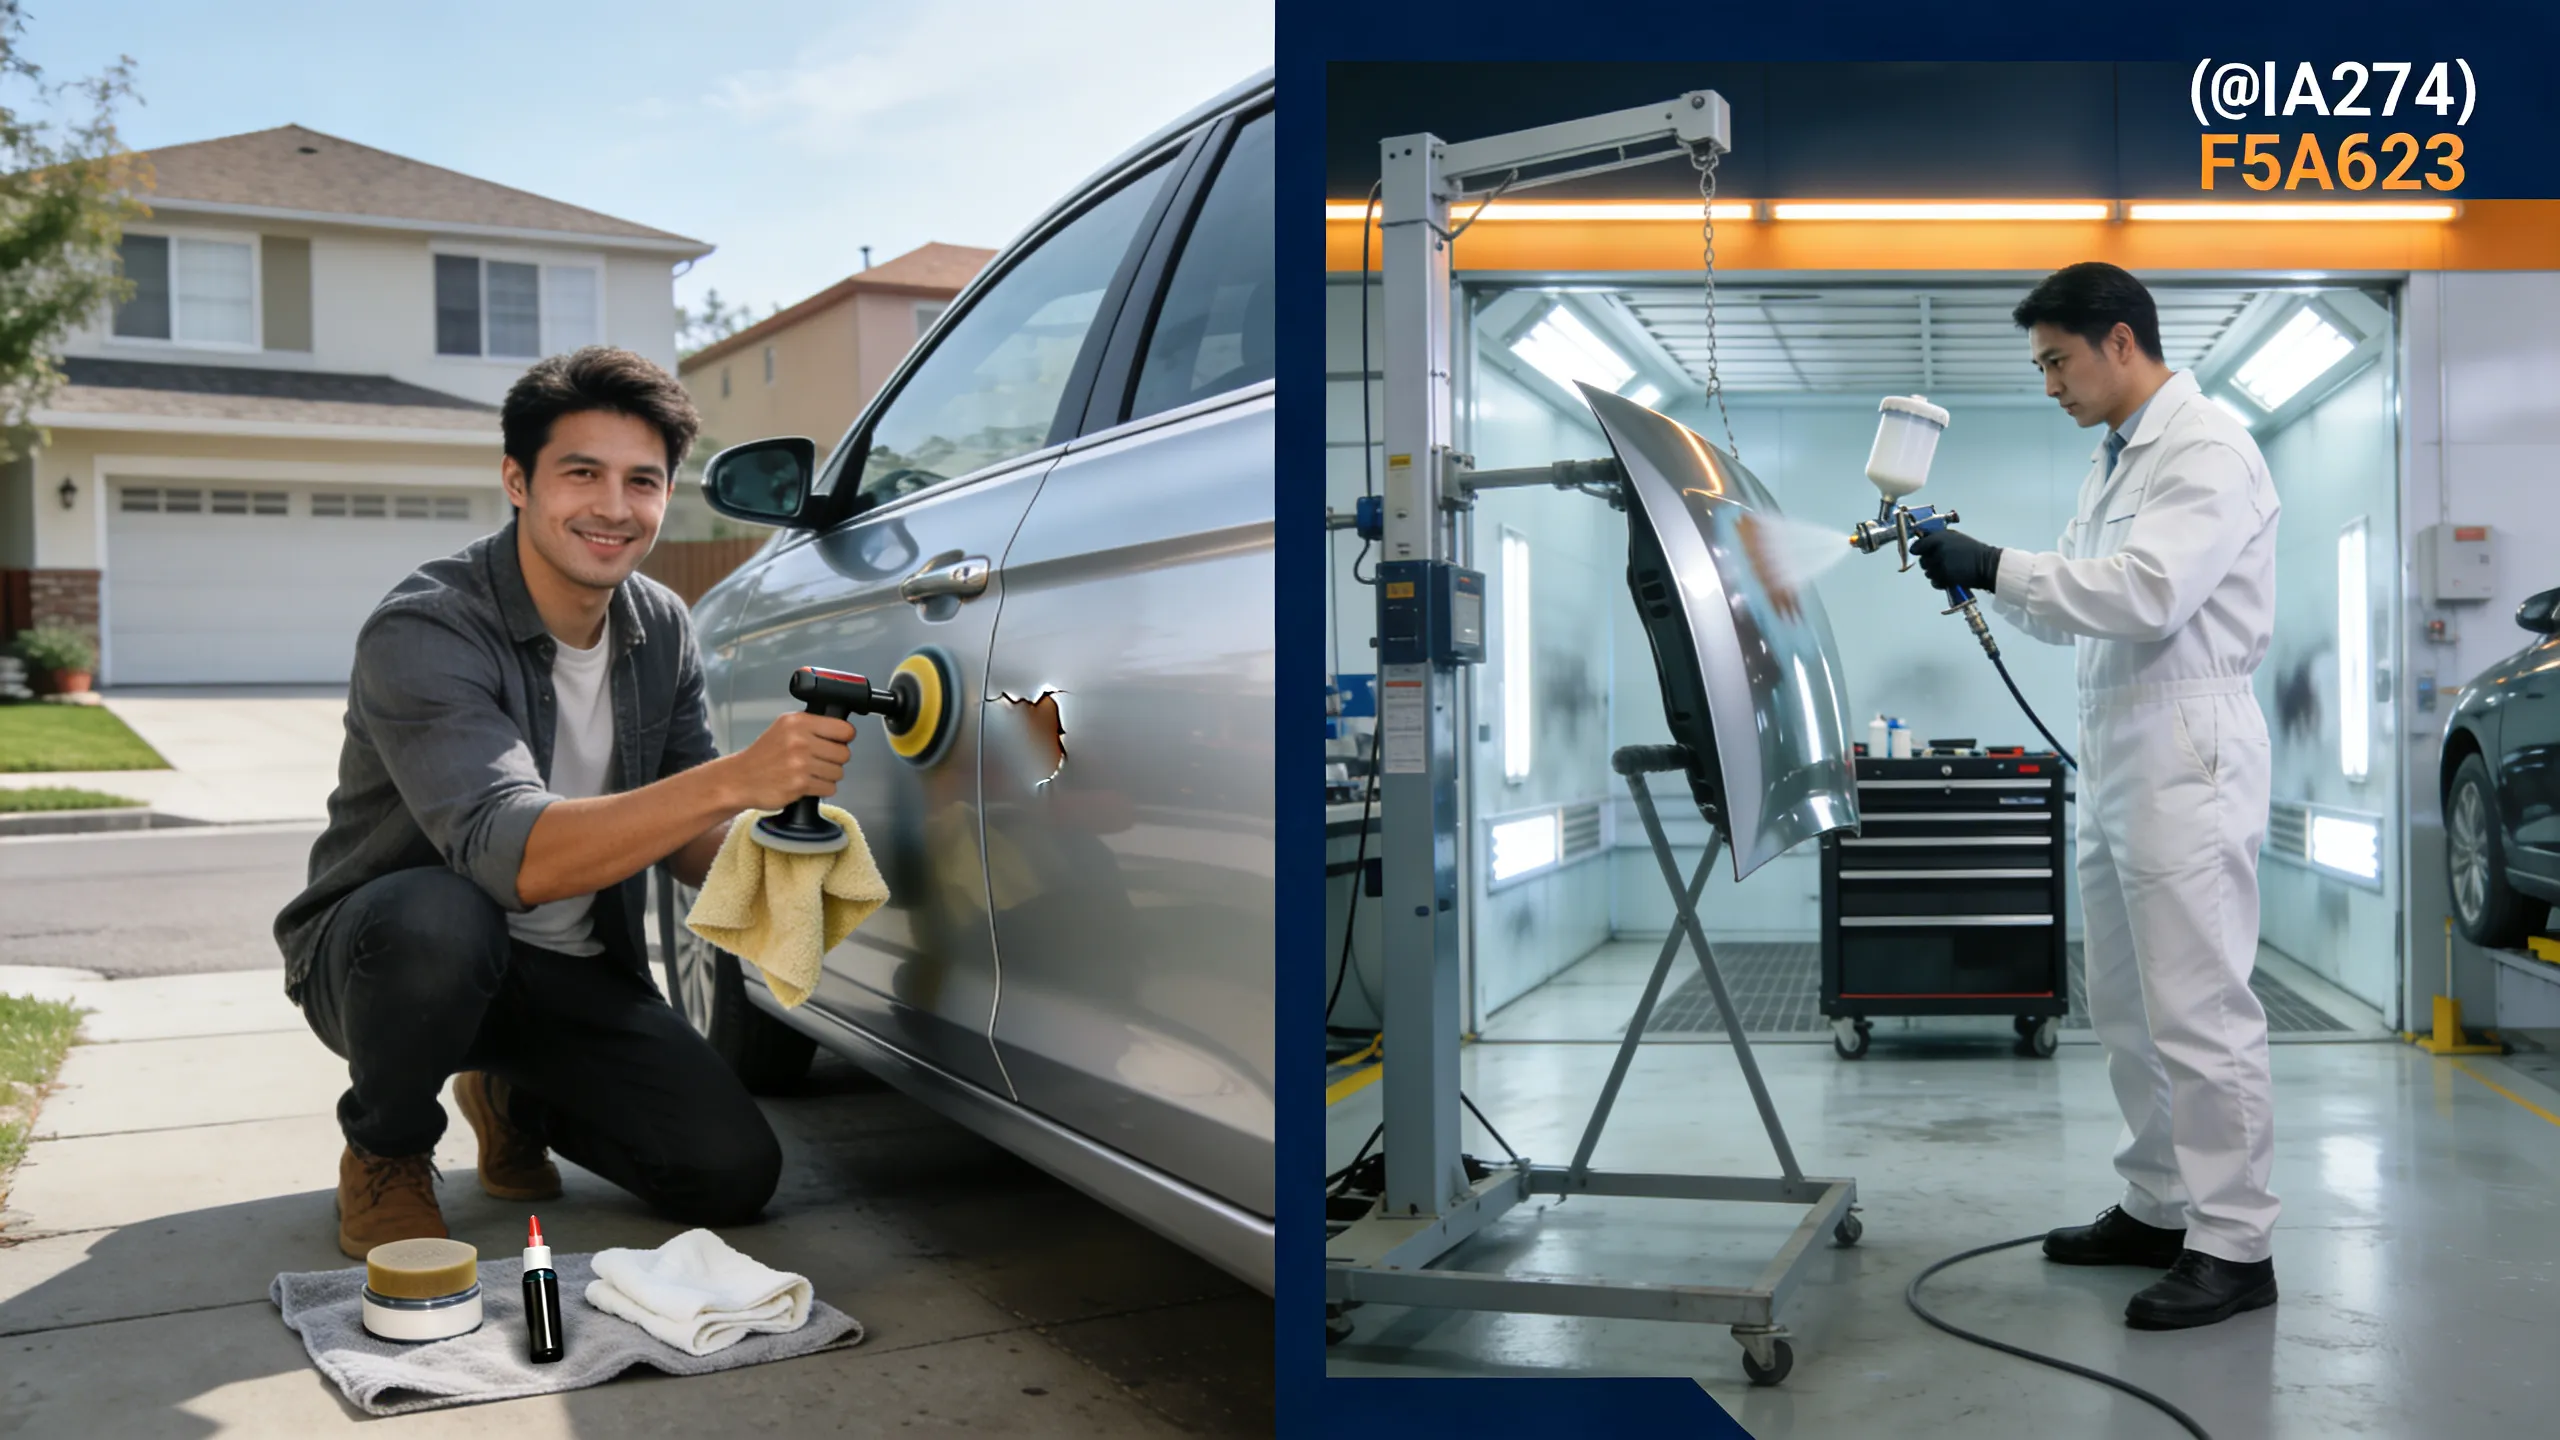
Professional paint matching involves a process called blending, where the new paint is graduated over the adjacent panel so the boundary between old and new paint becomes invisible. This requires paint booths, spectrophotometers for color matching, and experienced painters.
Without blending, a repainted panel on a non-white, non-black vehicle will be visibly mismatched, especially in different lighting conditions. This isn't a skill gap that better tools can fix. It's a capability that requires commercial equipment and training.
Anything Affecting Crash Safety
Beyond the specific categories above, a general principle applies: if there's any reasonable chance a repair touches a component that determines crash performance (pillars, sill rails, firewall, floor pan, roof structure), professional evaluation is required before any work begins.
The Gray Zone: DIY Car Body Repair That Requires Honest Assessment
Some repairs sit between clear DIY territory and definite professional work. These require honest self-assessment of skill level, available tools, and acceptable outcome thresholds.
Medium Dents (PDR vs DIY Kits)
Dents with any crease, sharp edge, or paint damage don't respond well to suction cup methods. Professional paintless dent repair uses specialized rods and picks inserted behind the panel to gradually work the metal back to its original shape. It requires years of practice to do well.
DIY PDR kits ($30 to $80) include a pulling glue system and slide hammer. Results on simple, round dents in accessible areas can be acceptable. On anything complex, results are typically uneven and visible. For medium or large dents, a professional PDR technician often produces better results for $150 to $400 than a DIY attempt that may need professional correction anyway.
Bumper Crack Repair
Small hairline cracks in plastic bumpers can be repaired using plastic repair adhesive and flexible filler ($30 to $60 in materials). The challenge is that finished repairs on bumpers are highly visible and require painting to blend, which loops back into color matching and clear coat application challenges.
A bumper with a visible crack that isn't near mounting points or sensors is a reasonable DIY candidate for repair only (not painting). Factor in professional painting of the bumper at $200 to $400 when evaluating total costs.
Rust Repair (Surface vs Structural)
Surface rust, small orange spots that haven't penetrated the metal, can be treated at home. Sand to bare metal, apply rust converter, prime, and touch up with matching paint. Caught early, this is effective maintenance.
Structural rust is different. When rust has eaten through metal, creating bubbles, holes, or panel weakness, cutting out and welding in new metal is required. That's professional work, and it carries safety implications if it's near structural zones. Attempting to cover structural rust with filler is a temporary cosmetic fix that accelerates the underlying problem. For professional options, the rust repair service page covers treatment approaches.
Full Panel Touch-Up Paint
Repainting an entire panel at home sounds achievable but in practice produces visible results for anything other than white or matte black vehicles. Color variation between the touched-up panel and adjacent surfaces is difficult to avoid without professional blending equipment.
For high-visibility panels on common vehicle colors (gray, silver, blue, red) a visible mismatch is the most likely outcome. Professional results are substantially better here, and the cost difference is often worth it, particularly for vehicles with higher resale value.
DIY Auto Body Repair Tools and Materials: What You'll Need
Attempting DIY car body repair without the right supplies produces worse results and can create new problems. The tools required scale with repair complexity.
Basic Kit ($50–$100)
Sufficient for clear coat scratch removal, paint chip touch-up, bumper scuff removal, and headlight restoration:
- Microfiber cloths (10–15 pack)
- Rubbing compound and polish
- Clay bar and spray detailer
- Touch-up paint (VIN-matched)
- Isopropyl alcohol (for surface prep)
- Headlight restoration kit
- Painter's tape
Intermediate Kit ($100–$300)
Adds capacity for small dent repair, surface rust treatment, and minor plastic repair:
- Suction cup dent puller
- Basic PDR glue puller kit
- Sandpaper (assorted grits: 400, 800, 1500, 2000)
- Automotive primer (spray can)
- Plastic body filler (for surface prep on metals)
- Flexible plastic adhesive and filler
- Orbital polisher (entry-level electric, ~$60–$80)
- Rust converter and rust-inhibiting primer
What's Not Worth Buying
Spray-can clear coat for spot repairs almost never matches factory finish. It tends to look cloudy or orange-peel textured. Full panel spray cans produce uneven results compared to professional HVLP (high-volume, low-pressure) equipment. "All-in-one" body repair kits are typically weak at every individual task.
The cost of professional-grade spray equipment, a proper paint booth environment, and matched paints runs $1,000 or more. That's only worth it for dedicated hobbyists doing extensive restoration work, not occasional repairs.
Common DIY Auto Body Repair Mistakes That Cost More to Fix
Most DIY auto body repair failures come from a predictable set of errors. Knowing them in advance reduces the chance of turning a small project into a larger correction.
Over-Sanding
Using too coarse a grit or sanding too long removes more material than intended. On body panels, sanding through primer into bare metal requires starting the prep process over. On clear coat, sanding too aggressively can cut through to the color coat, which requires professional paint correction. The rule: start with the finest grit that achieves results and work in short, controlled strokes.
Wrong Touch-Up Color
Factory color codes match paint at the time the vehicle was built. A vehicle's painted surfaces age and fade unevenly. Hood and roof typically shift faster than doors and lower body panels. A touch-up pen mixed to the original code may be perceptibly lighter or darker than the surrounding paint on vehicles more than three to four years old.
Getting the closest match often means testing a small amount in an inconspicuous area first. Worth the extra five minutes.
Body Filler on Flexible Parts
Body filler (sometimes called Bondo, though that's a brand name) is formulated for steel and aluminum panels. It's rigid when cured. Applying rigid filler to flexible plastic bumpers or fascias will crack at the first flex or temperature change. Plastic repairs require flexible filler specifically labeled for that use. The products are different and not interchangeable.
Skipping Primer
Painting directly over bare metal or bare plastic accelerates corrosion on metal and causes paint adhesion failure on both. Primer creates the bond between the substrate and paint. Skipping it to save a step almost always results in paint that peels, chips, or shows rust within months.
Self-etching primer on bare metal, which bonds chemically, is the appropriate choice before any paint application.
When DIY Auto Body Repair Voids Your Insurance Claim
DIY auto body repair and insurance claims can conflict in ways that cost car owners money. Understanding the interaction matters before picking up any tools.
Before vs After Filing a Claim
If an insurance claim is being filed for the damage in question, the sequence is critical. Making repairs before an insurance adjuster inspects the vehicle can reduce or eliminate the claim. The adjuster needs to see the damage in its original state to determine a payout. Cleaning, sanding, or partially repairing damage before inspection can result in a lower settlement or claim denial.
If the damage is minor and a claim won't be filed, meaning the car owner is paying out of pocket and the repair cost doesn't approach the deductible, DIY repair doesn't create any insurance issue. The decision to file or not file should come first, before any repair work begins.
Documentation Requirements
For insurance purposes, all repair work should be documented. If a claim is filed after DIY repairs were already made, the insurer may argue the original damage can't be verified, reducing what they'll pay. Photographs of the damage, before any cleaning or repair attempt, are the minimum documentation for any claim scenario. Date-stamped photos from multiple angles protect your position whether a claim is filed or not.
For guidance on how professional shops document and manage the claims process, the complete collision repair guide covers the full workflow including insurance interactions. To understand how to choose a qualified shop when professional repair is the right call, the guide on how to choose a collision repair shop provides a practical framework.
Key Takeaways
DIY auto body repair is genuinely effective for a specific set of cosmetic repairs: clear coat scratches, small dents without paint damage, paint chips, bumper scuffs, and headlight restoration. These repairs cost $15 to $100 in materials and produce good results when done carefully with the right products.
Several categories of repair are not safe to attempt at home, regardless of skill level: structural and frame damage, anything involving airbag components or ADAS sensor zones, and deep paint damage requiring blending. These involve safety systems where incorrect work can harm vehicle occupants. The cost of professional repair is far lower than the risk of getting it wrong.
The gray zone (medium dents, bumper cracks, surface rust, full panel paint) requires honest self-assessment. Materials cost $30 to $150, but results are often visibly inferior to professional work, and corrections add cost.
Before attempting any repair, determine whether an insurance claim is involved. If so, document the damage thoroughly and consult with an adjuster before beginning any work. Repairs made before adjuster inspection can reduce or eliminate a valid claim.
Four rules that prevent the most common DIY mistakes: use VIN-matched paint for color accuracy, always prime bare metal before painting, use flexible filler on plastic parts (never rigid body filler), and sand conservatively, starting with the finest grit that works.
For cosmetic damage that's beyond DIY range, or for safety-critical repairs, auto body shops near you can provide estimates across a range of repair types. Professional labor rates vary significantly by market; body shops in Florida and warmer states often charge less than high-cost metros. The car scratch repair cost guide offers a detailed breakdown of what professional scratch repair costs for different damage depths.
Frequently Asked Questions
What auto body repairs can I do myself?
Clear coat scratches, small dents without paint damage, paint chip touch-up, bumper scuffs, and headlight restoration are reasonable DIY auto body repair projects. These are cosmetic repairs that don't involve safety systems and can be completed with materials costing $15 to $100. Results are acceptable when done carefully with correct products.
Is DIY dent repair worth it?
For small, round dents without creases or paint damage, DIY suction cup methods work at $20 to $60. For anything larger, creased, or with paint damage, professional paintless dent repair (PDR) at $75 to $200 typically produces better results and avoids the risk of worsening damage and requiring more expensive correction.
Can I fix car scratches at home?
Clear coat scratches, those that don't catch a fingernail and disappear when wet, respond well to rubbing compound and polish ($15 to $40). Scratches reaching the color coat or bare metal can be treated with VIN-matched touch-up paint to prevent rust, though the result won't be invisible. Deep scratches requiring paint blending need professional work.
When should I take my car to a body shop instead of DIY?
Take the car to a professional when: damage involves structural components or frame; airbag sensors or wiring are in the repair zone; ADAS sensors are near the damage; the repair requires paint color-matching; or an insurance claim is being filed. Safety-related repairs have no acceptable DIY equivalent.
Does DIY repair affect my car's value?
Visible DIY repairs (color mismatches, uneven surfaces, visible filler) reduce resale value more than professionally repaired equivalents. On vehicles worth $10,000+, professional repair on visible panels typically preserves more value. Paint correction to fix a poorly executed DIY job can cost $300 to $800. Well-done cosmetic maintenance like chip touch-up or headlight restoration is unlikely to affect value.