The best bumper repair kit for most DIYers is the Bondo Bumper Repair Kit, which uses a flexible two-part epoxy that bonds to plastic, sands smooth, and accepts paint , all for under $20. If you're dealing with a cracked, scuffed, or punctured plastic bumper, a repair kit can save you $300 to $700 compared to a professional body shop fix. The key is matching the kit to the type of damage: epoxy putties handle small cracks and holes, flexible fillers work best on scuffs and surface damage, and fiberglass-reinforced systems tackle structural cracks and missing sections.
Key Takeaways
- Bondo Bumper Repair Kit ($15–$20) is the best all-around choice , its flexible two-part epoxy works on cracks, holes, and tabs with a 6-minute working time and sandable finish.
- J-B Weld PlasticWeld ($6–$10) is the budget pick for small cracks and tab repairs, setting in 25 minutes with 600 PSI shear strength.
- 3M EZ Sand Flexible Parts Repair ($30–$40) is the professional-grade option with fiberglass reinforcement for structural cracks.
- Permatex Plastic Welder ($8–$12) cures in 5 minutes and bonds well to ABS, making it ideal for quick fixes on bumper mounting tabs.
- Any crack longer than 6 inches, damage through multiple layers of plastic, or structural deformation near mounting points should go to a professional , bumper repair shops have welding equipment that kits can't replicate.
Which Types of Bumper Damage Can You Actually Fix at Home?
Before you buy a kit, you need to know what's fixable and what's not. Modern bumper covers are made from thermoplastic olefin (TPO), polypropylene (PP), or ABS plastic. These materials are flexible and repairable, but they have limits.
Good candidates for DIY repair
- Surface scuffs and paint scratches : The most common parking lot damage. Often fixable with just sandpaper, filler, and paint. Cost: $10–$25 in materials.
- Small cracks under 4 inches : Stress cracks from minor impacts respond well to two-part epoxy applied from the back side with reinforcing mesh.
- Small holes and punctures : A hole from a trailer hitch or bolt can be filled with epoxy putty and reinforced with fiberglass mesh.
- Broken mounting tabs : The plastic tabs that hold your bumper to the fender often snap. Epoxy putty can rebuild them.
Leave these to a professional
- Cracks longer than 6 inches : Large cracks need plastic welding with a nitrogen welder, which fuses the plastic at a molecular level. No epoxy matches that bond strength on long spans.
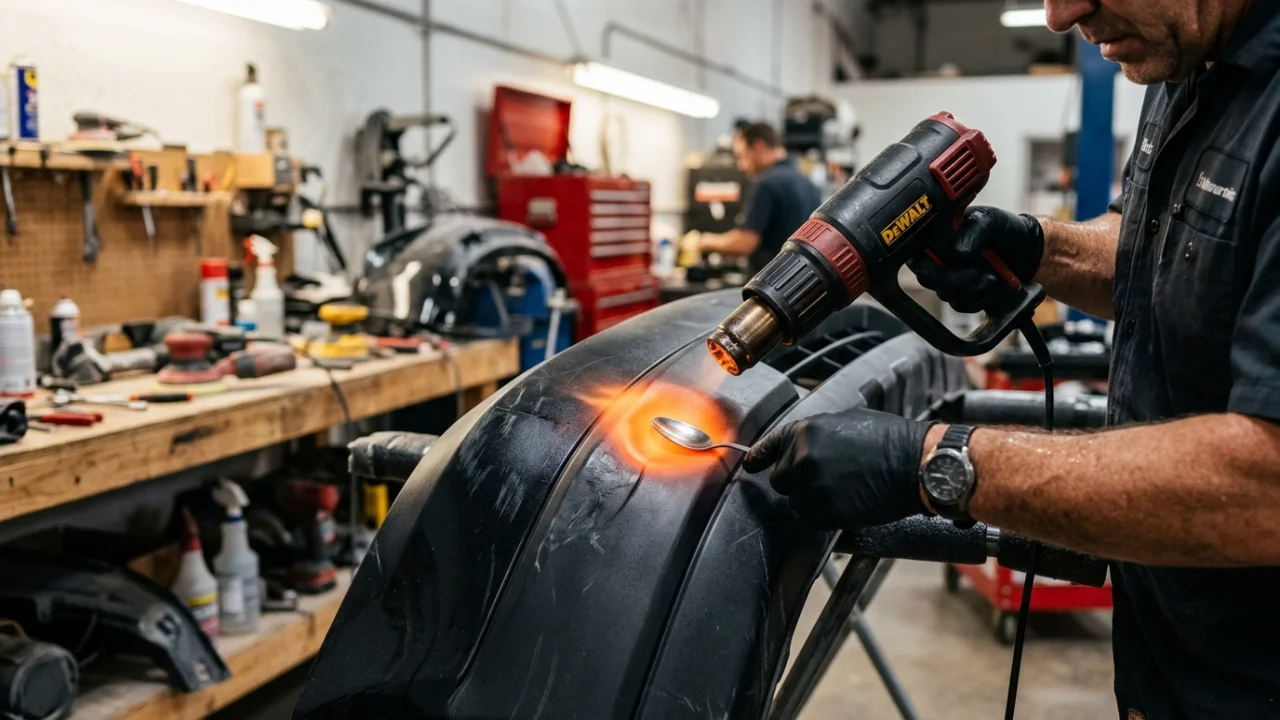
- Structural deformation : If the bumper is warped, pushed in, or has changed shape, a heat gun for bumper reshaping may help with minor warping, but significant deformation often means replacement.
- Damage near sensor or camera mounts : ADAS sensors, parking sensors, and camera housings require precise alignment. A poorly repaired mount can cause sensor misalignment.
- Multiple layers of damage : If the impact went through the bumper cover into the reinforcement bar or absorber foam, the hidden damage needs professional assessment.
The 4 Best Bumper Repair Kits in 2026
We evaluated these kits on bond strength, flexibility after curing, ease of use for beginners, sandability, paintability, and value. Every kit on this list is available at major auto parts retailers and hardware stores.
Bondo Bumper Repair Kit , Best Overall
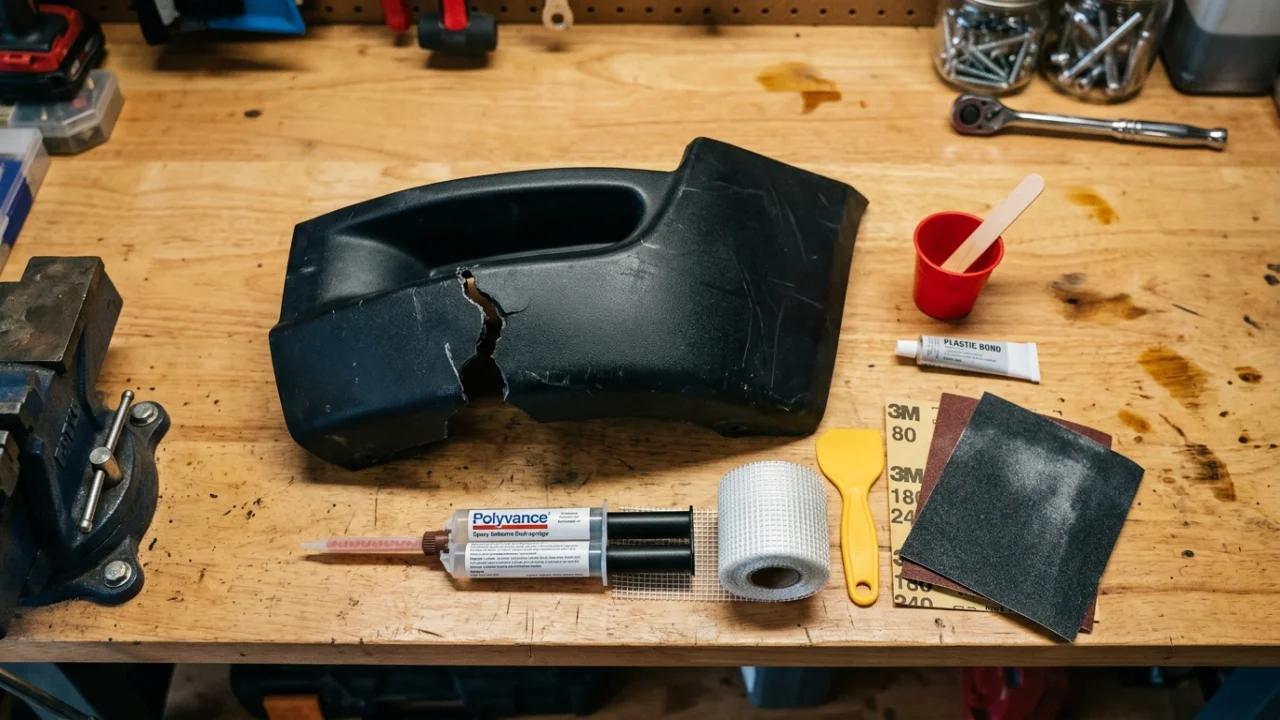
The Bondo Bumper Repair Kit (3M product #31589) is the standard recommendation for good reason. The two-part flexible adhesive dispenses evenly with no premixing, gives you a 6-minute working time, and cures to a sandable surface that stays flexible enough to move with the bumper on impacts. The kit includes reinforced mesh for structural repairs and a plastic spreader.
- Price: $15–$20 at AutoZone, O'Reilly, Walmart
- Best for: Cracks, holes, and tab rebuilds on any plastic bumper
- Cure time: Sandable in 30 minutes, paintable in 1 hour
- Flexibility: High , cures flexible to match bumper movement
- Limitations: The 6-minute working time is tight for beginners. If you're new to epoxy work, practice mixing on cardboard first. The reinforced mesh included is small , buy extra mesh separately for larger repairs.
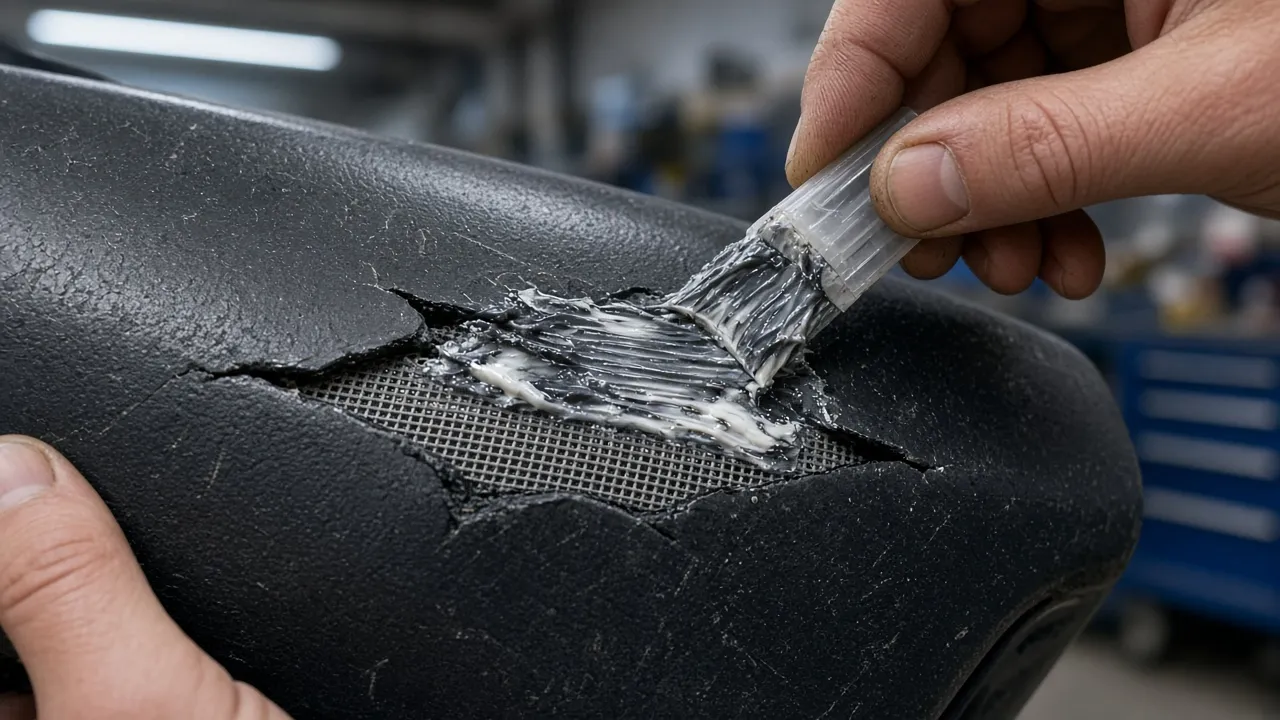
J-B Weld PlasticWeld , Best Budget Option
J-B Weld PlasticWeld is a hand-mixable epoxy putty that you knead like clay and press into cracks and holes. At $6–$10 for a 2-ounce stick, it's the cheapest effective option. It sets in 25 minutes, reaches full cure in 3 hours, and delivers 600 PSI shear strength , more than enough for bumper tab repairs and small cracks. It bonds to ABS, PVC, polycarbonate, and most automotive plastics.
- Price: $6–$10 at Home Depot, Lowe's, Amazon
- Best for: Mounting tab rebuilds, small cracks under 2 inches, filling bolt holes
- Cure time: Sets in 25 minutes, full cure in 3 hours
- Temperature resistance: Up to 250°F , handles engine bay proximity heat
- Limitations: Less flexible than Bondo once cured. On bumper areas that flex significantly during driving (front lip, lower valance), it may crack over time. Better for rigid mounting points. For similar repairs on dented panels, see our roundup of dent repair kits.
3M EZ Sand Flexible Parts Repair , Best for Structural Repairs
The 3M Automix EZ Sand Flexible Parts Repair (product #04247) is the professional-grade option. Body shops use this system for production-level bumper repairs. It comes in a dual-cartridge that mixes through a static mixing nozzle, eliminating the guesswork of hand-mixing ratios. The cured material is highly flexible, sands easily to a smooth finish, and feathers out cleanly for invisible paint blending.
- Price: $30–$40 at auto body supply stores, Amazon
- Best for: Larger cracks (3–5 inches), areas that need to be invisible after painting, structural crack repair with fiberglass backing
- Cure time: Sandable in 20–30 minutes
- Flexibility: Highest , matches OEM bumper flex characteristics
- Limitations: Requires a caulk-style dispensing gun ($10–$15 separately). The mixing nozzles are single-use and only a few are included , buy spares. Overkill and overpriced for small tab repairs.
Permatex 5-Minute Plastic Welder , Best for Quick Fixes
Permatex Plastic Welder is a two-part epoxy in a dual-syringe dispenser that sets in just 5 minutes. It bonds especially well to ABS plastic and can be built up in layers to reconstruct missing material. The cured epoxy is less brittle than ABS itself, which means it absorbs minor impacts without cracking. Users report it's drillable and even threadable once fully cured.
- Price: $8–$12 at Home Depot, AutoZone, Amazon
- Best for: Quick tab repairs, small crack fills, situations where you need the car back on the road same-day
- Cure time: Handling strength in 5 minutes, full cure in 1 hour
- Limitations: The fast set time means zero room for repositioning. Mix small amounts , once it starts to kick, you have about 90 seconds to apply. Not ideal for large surface repairs where you need time to smooth and shape.
How to Repair a Cracked Bumper: Step-by-Step
The process is the same regardless of which kit you choose. The difference is in the curing time and working window.
Step 1: Clean and prep the area
Wash the damaged area with soap and water, then wipe it down with rubbing alcohol or a plastic prep solvent. Grease, road film, and wax will prevent the epoxy from bonding. Sand the area around the crack with 80-grit sandpaper to create a rough surface for adhesion. Extend the sanding 1–2 inches beyond the visible damage in all directions.
Step 2: V-groove the crack
For through-cracks, use a rotary tool or utility knife to cut a shallow V-groove along the crack line. This gives the epoxy more surface area to grip and creates a stronger repair than simply bridging the surface.
Step 3: Apply reinforcing mesh from the back
If the crack goes through the bumper, apply the fiberglass reinforcing mesh to the back side first. Spread a thin layer of epoxy, press the mesh into it, then add another layer of epoxy over the mesh. This is the structural backbone of the repair.
Step 4: Fill from the front
Apply the epoxy to the front side of the crack, pressing it firmly into the V-groove and smoothing it with the plastic spreader. Build up slightly above the surrounding surface , you'll sand it flush after curing.
Step 5: Sand, prime, and paint
After the epoxy fully cures, sand the repair area with 180-grit paper to rough shape, then 320-grit to smooth, then 600-grit for a paint-ready surface. Apply a flexible primer designed for plastic bumpers (regular primer will crack), then color-matched spray paint and clear coat. For tips on paint matching, see our guide to paint color matching.
Paint Matching Your Bumper Repair
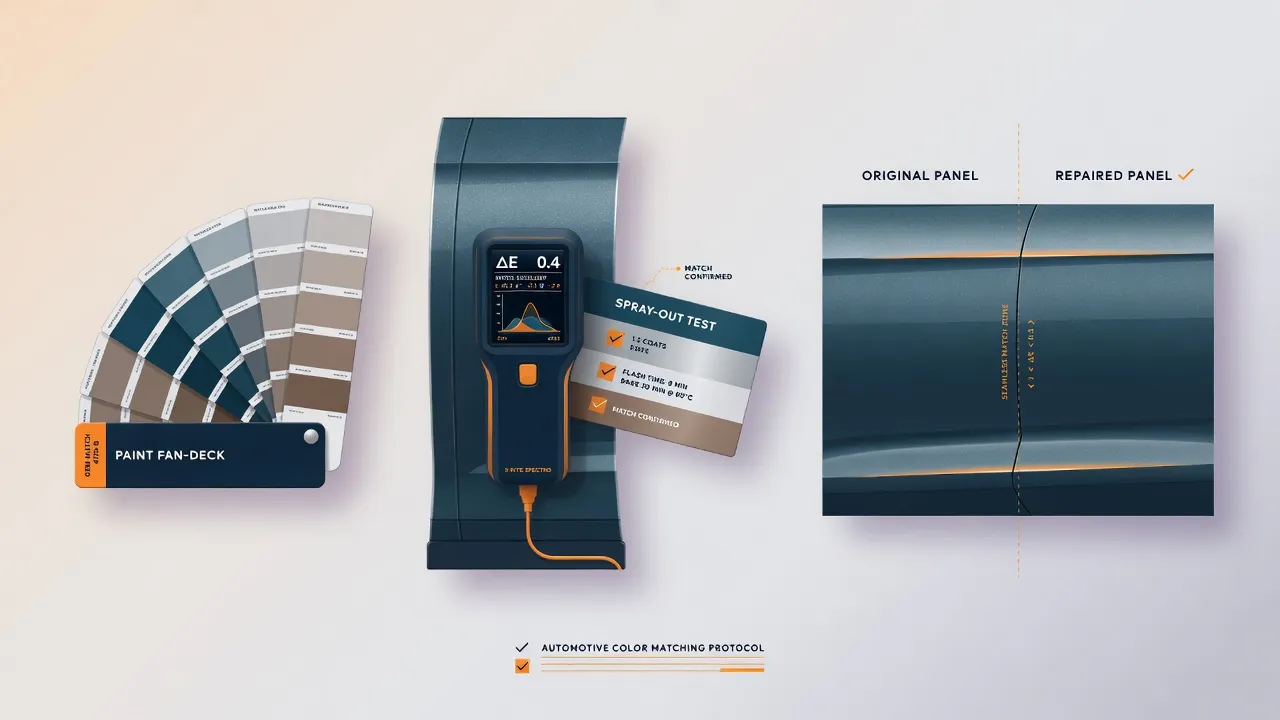
The repair itself is the easy part. Making it invisible is where most DIYers struggle. Your vehicle's paint code is printed on a sticker in the driver's door jamb, under the hood, or in the trunk. Use that code to order color-matched spray paint from Dupli-Color, SEM, or your dealer's parts department.
For the best blend, spray a wider area than just the repair , feathering the color 6–8 inches beyond the fix prevents a visible patch. Apply thin coats (3–4 passes) with 10 minutes between each. Finish with 2 coats of clear coat. The full paint process takes about 2 hours of active work plus drying time. For a deeper dive into spray painting technique, read our guide to DIY vs professional body repair.
When to Replace the Bumper Instead
Repair kits are cost-effective for damage that covers less than about 10% of the bumper surface. Beyond that, the math shifts toward replacement. A new aftermarket bumper cover costs $100–$300 unpainted or $200–$500 pre-painted, plus $200–$400 for professional installation. OEM bumper covers from the dealer run $300–$800 for the part alone. Compare that to a full bumper repair cost of $300–$700 at a body shop.
Replace rather than repair when the bumper has multiple large cracks, when the plastic is brittle from age or sun damage, when sensor or camera mounts are compromised, or when the underlying reinforcement bar or absorber foam is damaged. If you're paying out of pocket and the bumper is cosmetic-only damage on an older car, a $15 repair kit is almost always worth trying first.
Frequently Asked Questions
Can you use regular Bondo body filler on a plastic bumper?
No. Standard Bondo body filler is designed for metal panels and cures rigid. On a flexible plastic bumper, it will crack and fall off within days because the bumper flexes during driving and standard filler can't move with it. Use only bumper-specific flexible fillers like the Bondo Bumper Repair Kit, which contains a different epoxy formula designed to cure with flexibility.
How long does a bumper repair kit fix last?
A properly applied bumper repair with flexible epoxy, reinforcing mesh, and quality paint can last 3 to 5 years or longer on surface repairs. Structural crack repairs typically last 1 to 3 years depending on the size of the original crack and whether the bumper takes additional impacts. Mounting tab rebuilds with J-B Weld PlasticWeld or Permatex often last the remaining life of the bumper as long as the epoxy was applied to clean, sanded surfaces.
Do I need to sand the bumper before applying repair epoxy?
Yes, sanding is essential. Scuff the damaged area and surrounding 1 to 2 inches with 80-grit sandpaper to create a rough surface for mechanical adhesion. Also clean with rubbing alcohol or plastic prep solvent to remove oils. Skipping these prep steps is the most common reason bumper repairs fail , the epoxy needs a clean, rough surface to grip.
What's the difference between bumper epoxy and bumper filler?
Bumper epoxy (like J-B Weld PlasticWeld or Permatex Plastic Welder) is a structural adhesive that bonds broken pieces together and can rebuild missing material. Bumper filler (like the material in the Bondo Bumper Repair Kit) is designed to fill surface imperfections, smooth out cracks, and create a paintable surface. For through-cracks, you typically need epoxy on the back side for structure and filler on the front side for a smooth finish.
Can I repair a bumper without painting it afterward?
You can, but the repair will be visible. All bumper repair materials cure to a different color than your bumper , gray, white, or tan depending on the product. If the damage is on a hidden area (inside the wheel well, lower valance below sight line), you can skip paint. For visible areas, at minimum apply a coat of color-matched spray paint and clear coat to protect the repair from UV degradation, which will cause unpainted epoxy to yellow and become brittle over time.