Most car owners have never set foot in a body shop before an accident forces the issue. The strange equipment, the unfamiliar terminology, the vague timeline, it all piles on top of an already stressful situation.
Knowing what each stage involves changes that. When you understand why estimates change mid-repair and what questions to ask at each step, the whole experience becomes a lot less anxious. This guide walks through all seven stages of the auto body repair process in plain language, from the moment your vehicle arrives at the shop to the moment it leaves ready to drive.
For a broader overview of your options after an accident, the complete collision repair guide covers insurance decisions, shop selection, and consumer rights in full detail.
Overview: the 7 stages of the collision repair process
The body shop repair process isn't a single event. It's a sequence of dependent steps, each stage clears the way for the next. Rush any one of them and you'll likely see the consequences later.
Here is the full sequence at a glance:
- Damage assessment and estimating: Visual and computerized inspection; preliminary estimate written
- Disassembly and hidden damage discovery: Teardown reveals damage invisible at intake
- Structural and frame repair: Frame straightening and unibody correction using measuring systems
- Body panel repair and replacement: Dented or damaged panels repaired or replaced with OEM, aftermarket, or recycled parts
- Paint preparation and refinishing: Surface preparation, primer, base coat, and clear coat application
- Reassembly and mechanical checks: All components reinstalled; electrical and mechanical systems verified
- ADAS calibration and final quality inspection: Safety system sensors recalibrated; vehicle walk-around completed
Each stage is covered in full below.

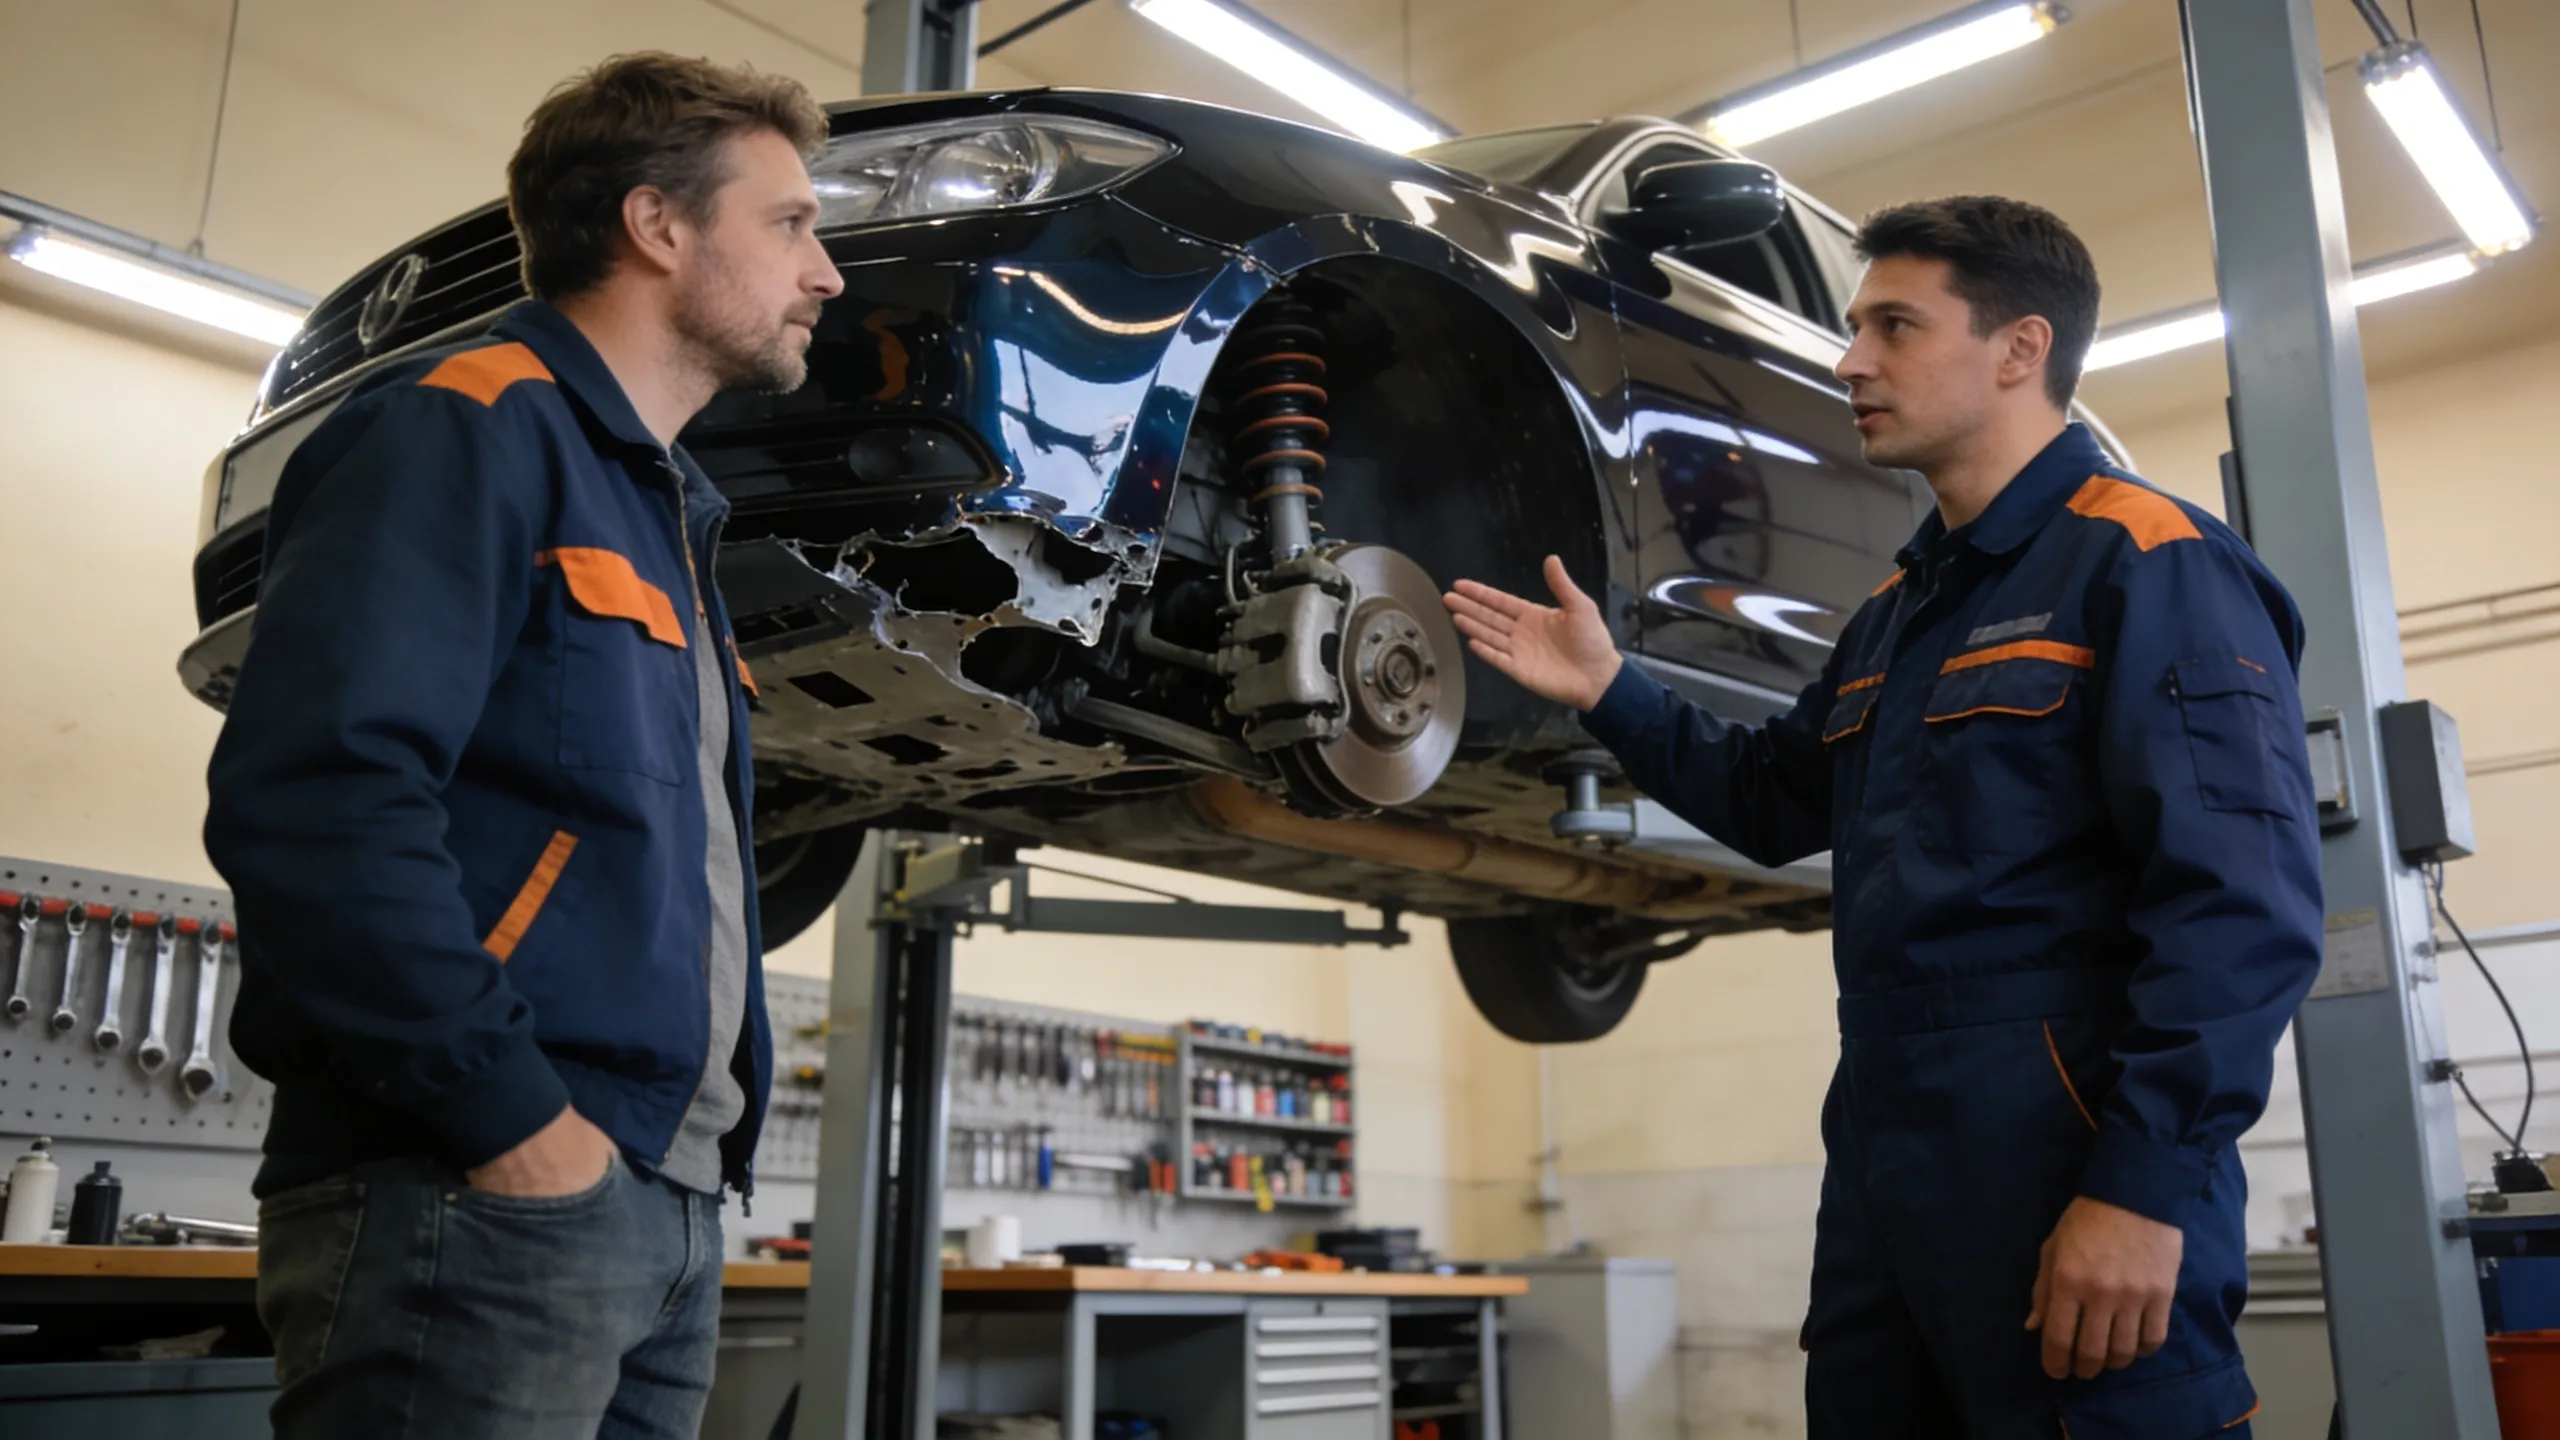
Stage 1: damage assessment and estimating
The collision repair process begins before any tools come out. First priority: figure out what the car needs and what it's going to cost.
Visual inspection vs. computerized scanning
An estimator walks the vehicle, notes visible damage, and documents everything with photos. On newer vehicles, virtually anything built after 2018, shops also connect a scan tool to the OBD-II port to pull diagnostic trouble codes. That pre-repair scan surfaces fault codes in safety systems, airbag modules, and body control computers that you'd never see just by looking.
The two methods cover different ground. Visual inspection captures what's obviously broken. The scan captures what the car itself is flagging as wrong.
Writing the preliminary estimate
The estimate produced at intake is a preliminary estimate. Not a final one. At this stage, the estimator has only seen what's visible on the assembled car, hidden damage hasn't been revealed yet, and in moderate to severe collisions, there's almost always hidden damage.
Think of it as an informed starting point. Estimates almost always go up after disassembly, not because shops are padding bills, but because the full picture wasn't visible. For context on what repair work costs at each damage level, see the collision repair cost guide.
Stage 2: disassembly and hidden damage discovery
Once the vehicle is authorized for repair, technicians begin teardown, panels, bumper covers, trim pieces, anything in the way comes off so they can see what's underneath.
Why estimates change after teardown
This catches a lot of first-timers off guard. A car that looked like a minor bumper job at intake can reveal bent reinforcement bars, crumpled inner structure, damaged wiring harnesses, or impacted fluid reservoirs once the exterior comes off.
Not suspicious. Normal.
Collision energy travels through a vehicle's structure in ways you can't see from outside. A direct 25 mph rear impact commonly damages components three or four layers deep from the visible exterior. The shop isn't making it up, they're finding it.
The supplement process
When teardown uncovers damage not in the preliminary estimate, the shop writes a supplement, an updated estimate that adds the new repairs. That goes to the insurance adjuster, who reviews and approves before work continues.
About 70% of moderate to severe collision repairs involve at least one supplement cycle. If you're going through insurance, ask the shop to flag you at each supplement stage. No one likes billing surprises at pickup.
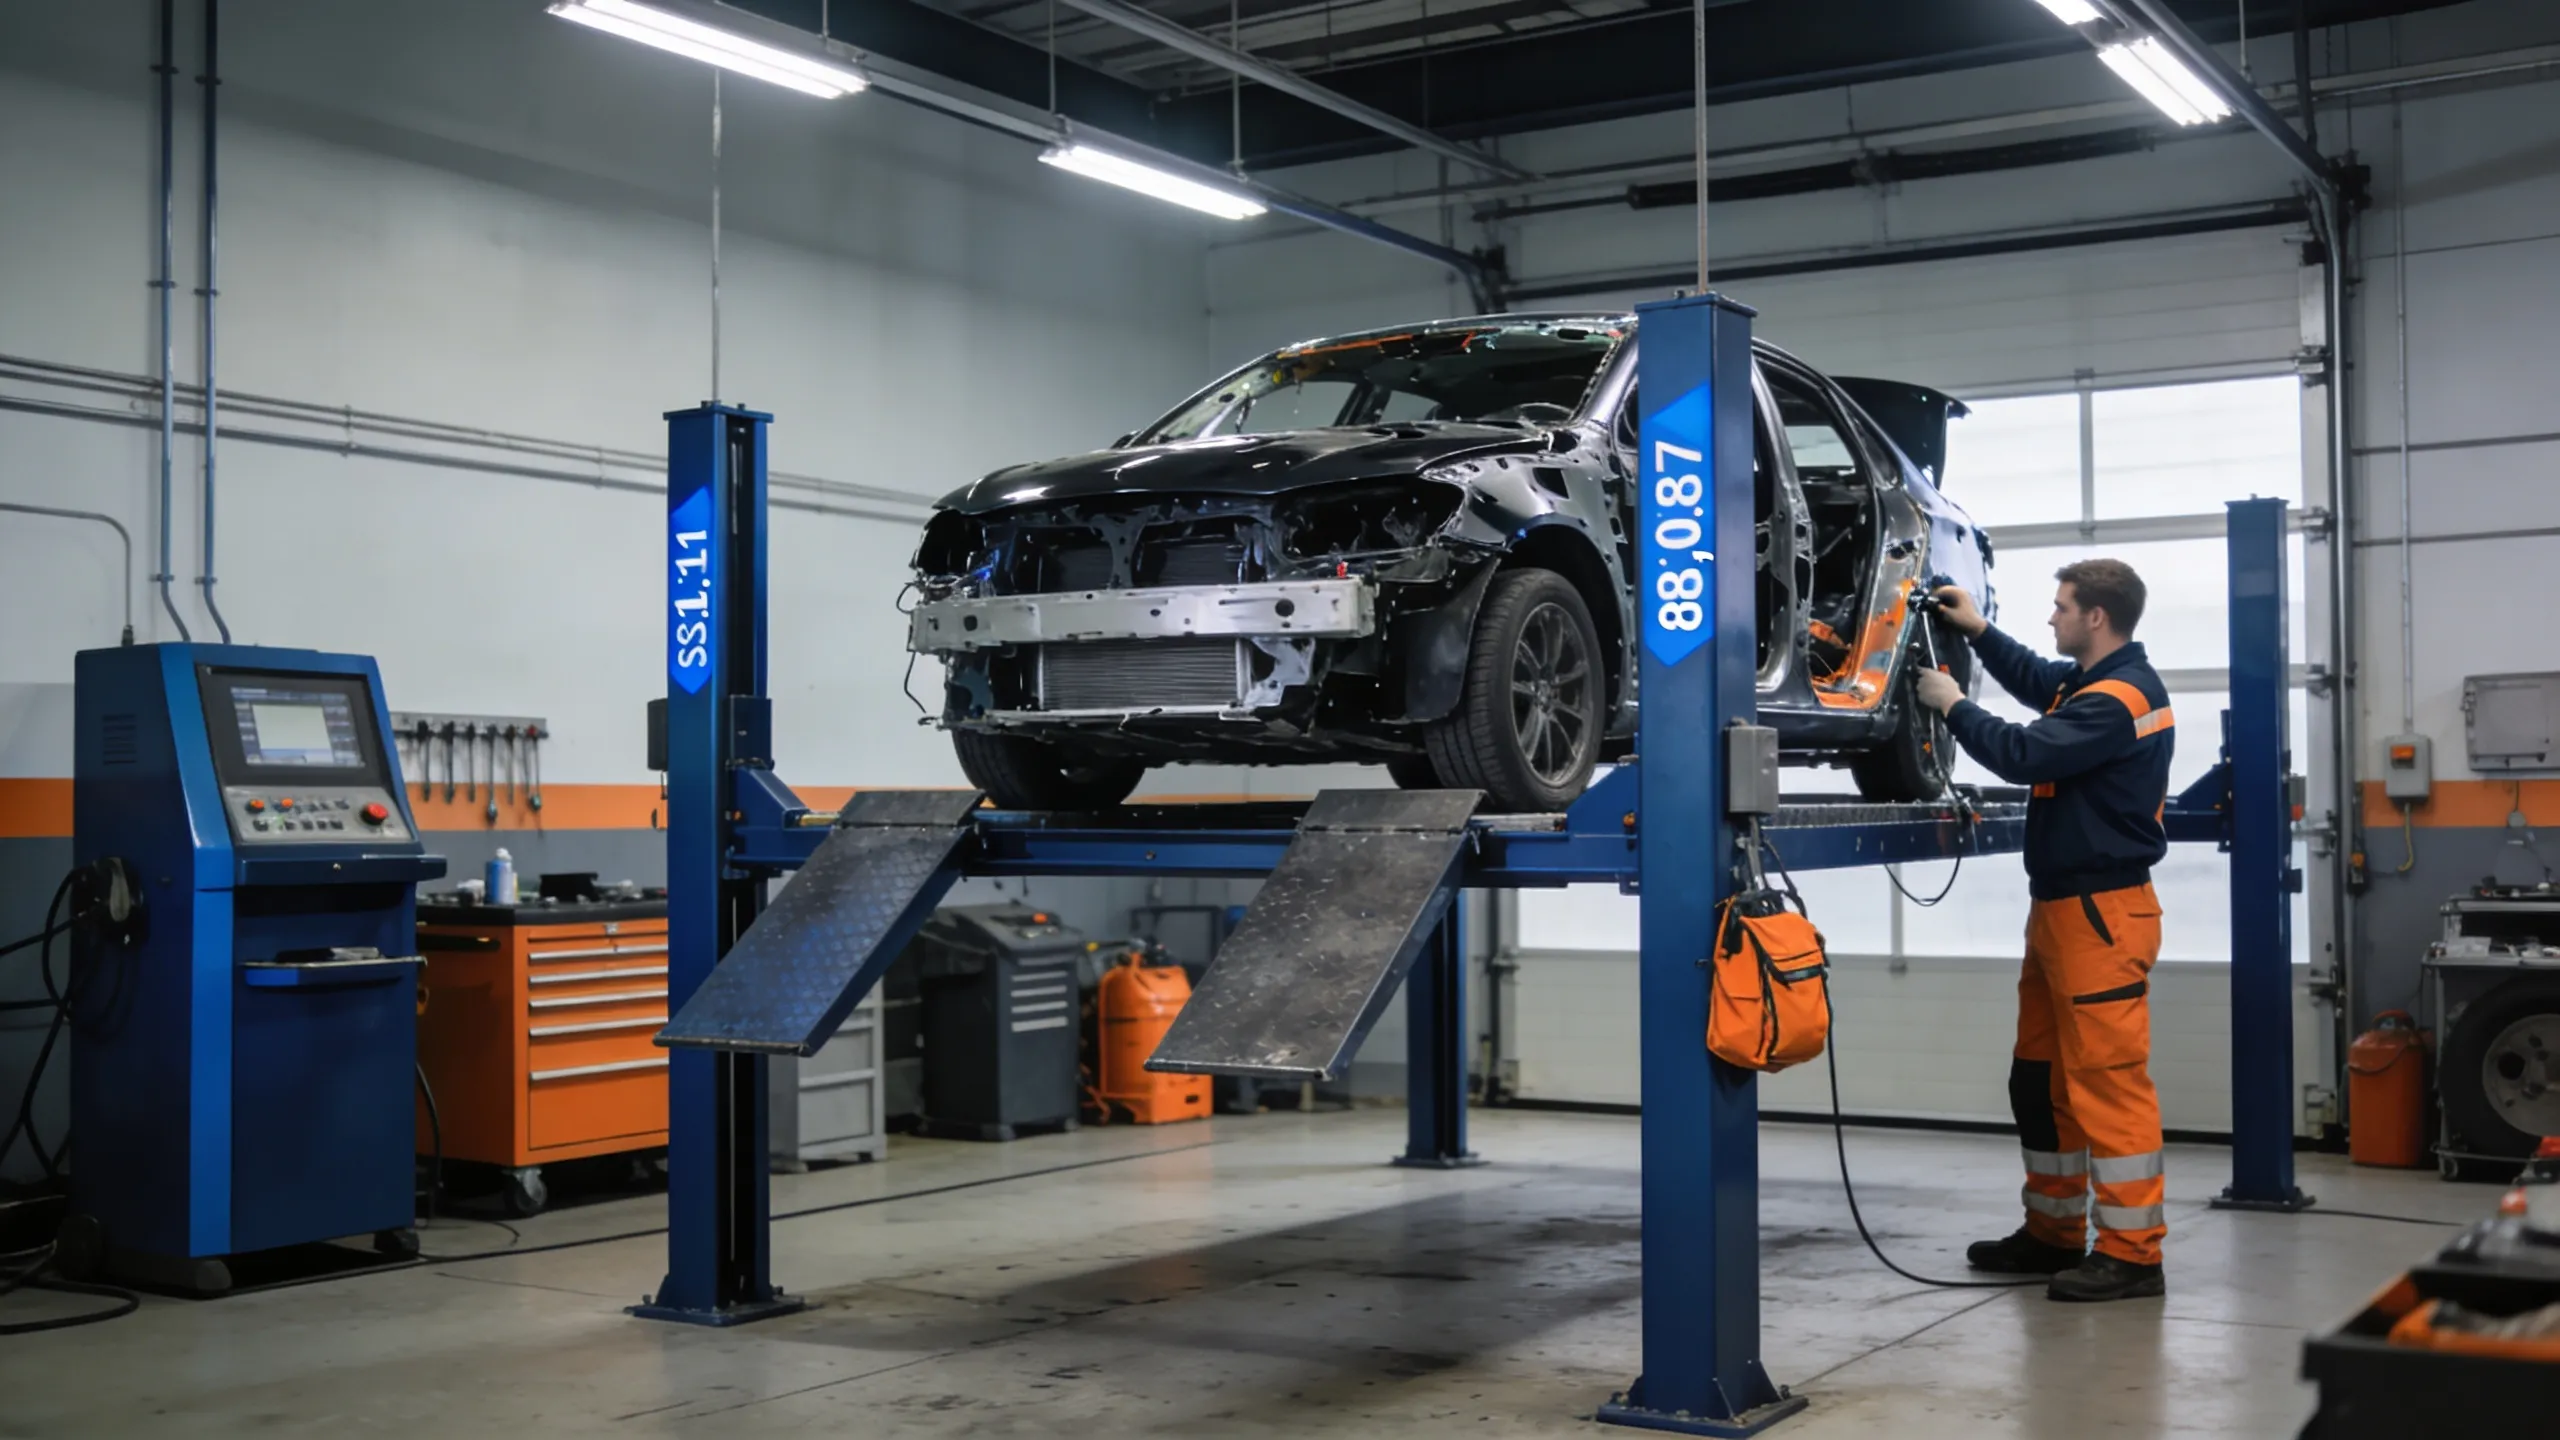
Stage 3: structural and frame repair
If the collision touched the vehicle's structural integrity, this is the most critical stage of the entire repair. You can't paint over a bent frame and call it fixed.
Frame straightening technology
Modern vehicles fall into two categories. Older trucks and body-on-frame SUVs have a separate steel frame, it can be clamped, measured, and pulled back to factory spec using a straightening machine. Passenger cars and most modern crossovers use unibody construction, where body and frame are a single integrated piece. Same tools, different approach.
The equipment works by anchoring the vehicle and applying measured hydraulic force to bent sections. A computerized measuring system tracks geometry in real time, comparing the actual vehicle to the factory blueprint for that exact make and model. Technicians work in three dimensions, length, width, height, until every measurement point falls within tolerance.
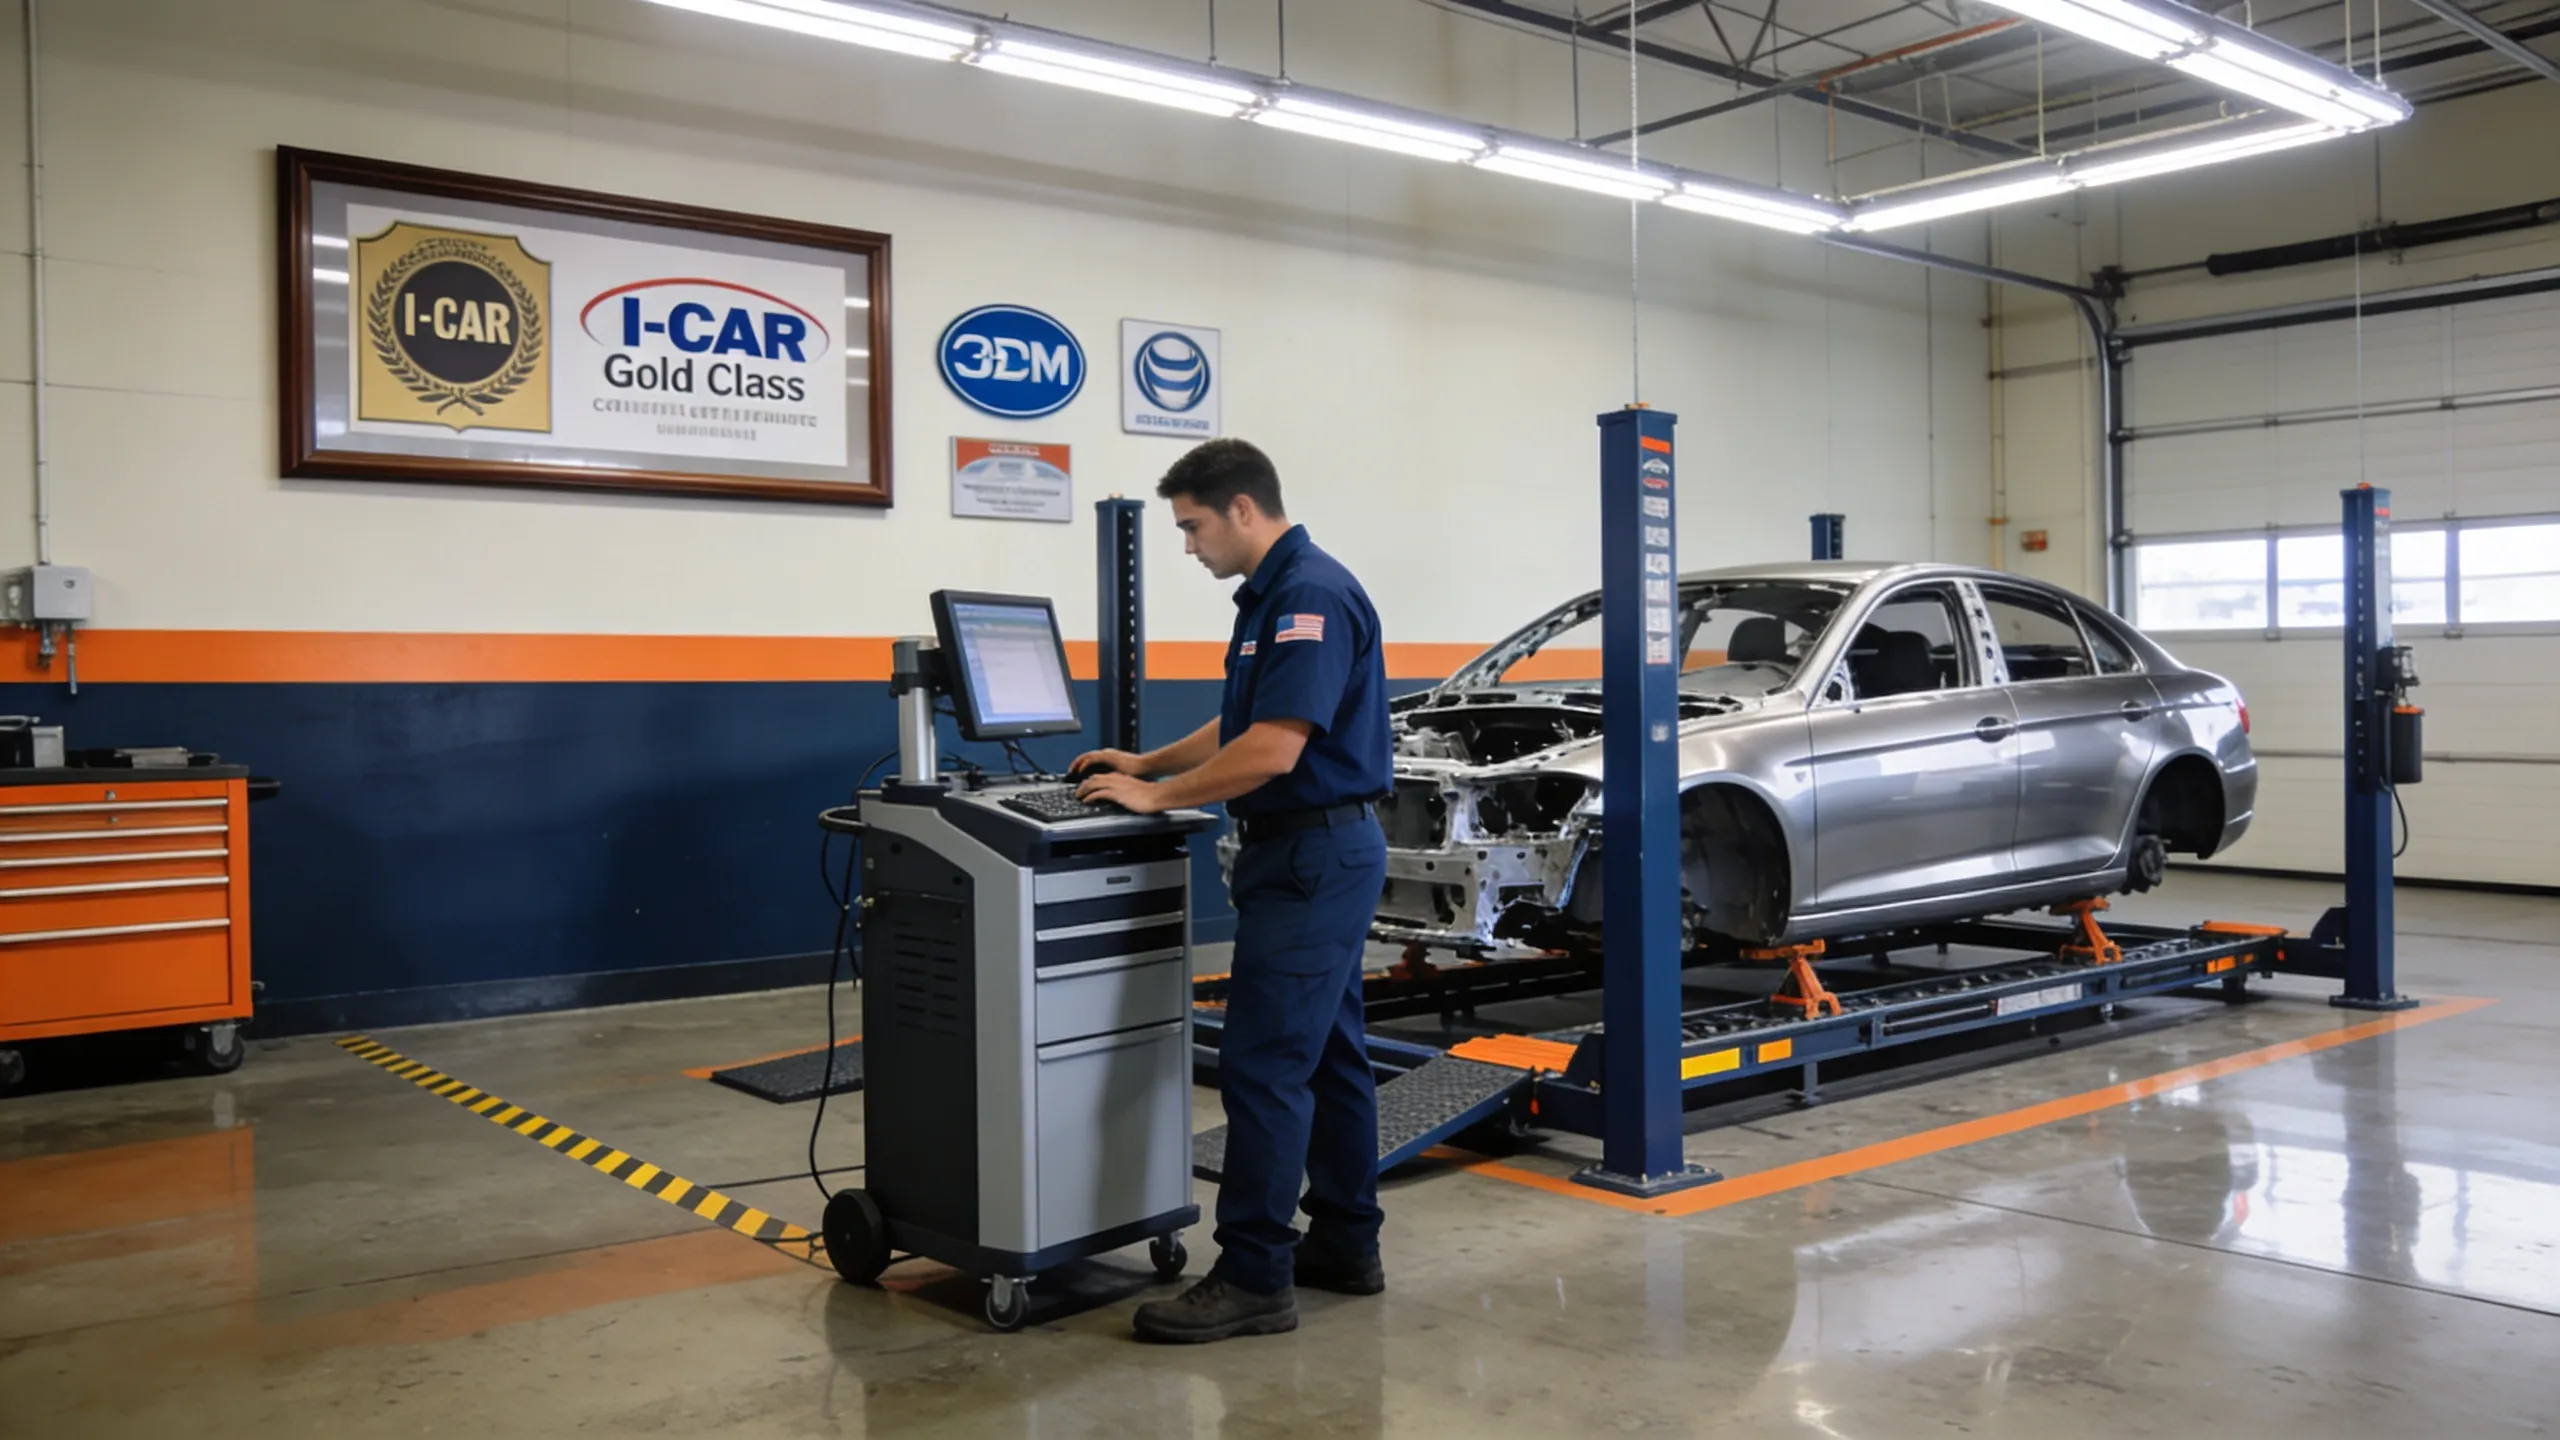
This requires specialized frame repair equipment and technicians who know how to read the data. Not every shop has it. That's largely why serious structural repairs tend to land at larger, certified collision centers rather than smaller independents.
When structural damage means total loss
Sometimes repair costs exceed the vehicle's pre-accident market value. When that happens, insurers declare a total loss, they pay the car's Actual Cash Value (ACV) rather than authorizing repairs. ACV is the market value before the crash, not what it would cost you to replace it. Those two numbers are often very different.
You can dispute a total loss determination. Some states have specific total loss threshold rules, and outcomes vary. But you need to act quickly, adjusters move fast once a total loss is declared.
Stage 4: body panel repair and replacement
With structure corrected, the work shifts to the outer skin, the panels you can actually see.
Repair vs. replace
Technicians evaluate each damaged panel separately. The call to repair or replace comes down to how badly it's deformed, what it's made of, and whether fixing it costs less than swapping it.
Shallow dents with intact paint are strong candidates for paintless dent repair (PDR), specialized tools massage the metal back to shape from behind, preserving the factory finish entirely. Faster and cheaper when conditions allow. See paintless dent repair for a breakdown of when PDR works and when it doesn't.
Deeper creases, cracked paint, or complex compound curves usually mean conventional repair: body filler, block sanding, and reshaping to match factory contours. Panels that are too far gone to reshape economically just get replaced.
OEM, aftermarket, and recycled parts
Replacement parts come from three sources:
- OEM (Original Equipment Manufacturer) parts. Made by the vehicle's manufacturer. Guaranteed fit and finish. Also the priciest option. Some states let owners request OEM parts regardless of what the insurer prefers.
- Aftermarket parts. Third-party made, typically 20-40% cheaper than OEM. Quality varies a lot by manufacturer. Some aftermarket parts are indistinguishable from OEM at installation; others need adjustment.
- Recycled (salvage) parts. Undamaged components pulled from totaled vehicles of the same make and model. Good cost savings on older cars. Condition depends entirely on the salvage source.
Insurers often push aftermarket or recycled parts to keep costs down. If OEM matters to you, check your policy before authorizing work, some policies explicitly include OEM coverage.
Stage 5: paint preparation and refinishing
Paint is where repair quality becomes visible. A skilled job is indistinguishable from the factory finish. A rushed one shows, mismatch, orange peel, overspray, and it shows for the life of the car.
Primer, base coat, clear coat
Automotive refinishing is a three-layer process:
- Primer. Goes on first over bare metal or repaired filler. It seals the surface, creates adhesion for the color coat, and gives the painter a smooth foundation to work with. Block-sanded after drying to eliminate any surface imperfections.
- Base coat. The color layer. Matched to the vehicle's factory color code. On metallic and pearl finishes, spray technique matters a lot, metallic particles orient differently depending on gun angle and speed, which affects how the color looks in different light.
- Clear coat. A transparent topcoat over the base. This is what gives paint its gloss and depth, and protects it from UV, chemicals, and abrasion. Most visible paint damage on older vehicles is actually clear coat failure. The color underneath is usually fine.
All three layers go on in a climate-controlled spray booth, filtered air, consistent temperature and humidity. Without those conditions, paint adhesion and flow suffer.
Color matching
Getting the new paint to match what's already on the car is harder than it sounds. Paint fades and shifts over years of sun exposure, a color mixed straight from the factory code almost never blends cleanly with aged adjacent panels.
Shops use a spectrophotometer, an instrument that reads the exact color wavelength of the existing paint, to develop a formula that matches the aged color, not the original code. Then technicians often "blend" the fresh paint into adjacent panels, gradually fading it into the existing finish so the transition disappears. Auto painting services at certified shops use this as standard practice.
Stage 6: reassembly and mechanical checks
With structure corrected and refinishing done, the vehicle moves into reassembly. Everything removed at teardown goes back: trim pieces, bumper covers, lights, badges, weather seals, fasteners.
Fitting it all back together
Reassembly is more demanding than it looks. Panel gaps, the consistent spacing between adjacent panels like doors, fenders, and hoods, have to match factory specs. Uneven gaps are one of the most visible signs of sloppy repair work. Car owners notice them. Buyers notice them even more.
Technicians set panel positions using shims and fastener positioning until gaps are even and doors, hoods, and trunk lids open and close with factory resistance. Weatherstripping gets inspected and replaced if it was damaged during teardown.
Electrical and mechanical systems
Modern vehicles run electrical components throughout the body, sensors, cameras, wiring harnesses, module connectors threaded through panels and along door frames. Reconnecting all of that correctly and verifying it works is part of reassembly.
Any mechanical systems touched by the collision also get checked against factory specs: cooling components, steering geometry, suspension points. If a shop did suspension or steering work, they'll verify wheel alignment before releasing the vehicle. A collision that shifts a control arm or subframe mount can pull wheel angles out of spec without being obvious.
Stage 7: ADAS calibration and final quality inspection
The final stage has gotten a lot more complicated over the past decade. More technology in the car means more to verify before it leaves.
Why ADAS calibration is now standard
Advanced Driver Assistance Systems, forward collision warning, automatic emergency braking, lane departure warning, adaptive cruise, blind spot monitoring, all rely on sensors mounted in bumpers, the windshield, mirrors, and body panels. Move any of those mounting points during repair and the sensors need recalibration.
A misaligned forward-facing camera can delay automatic braking activation by fractions of a second. At highway speed, that's not a small gap. The Inter-Industry Conference on Auto Collision Repair (I-CAR) recommends following OEM calibration procedures after any repair that moves sensor mounting points. Most shops treating this as standard on 2018+ vehicles.
On cars with multiple sensor systems, several calibrations may be required. Before you authorize work, ask the shop which calibration procedures apply to your vehicle, and verify they're included in the estimate.
The ADAS calibration cost guide covers current pricing by sensor type, vehicle make, and shop type if you want specifics.
The final walk-around
Before your vehicle is released, the shop runs a final quality inspection. A QC technician checks:
- Panel alignment and gap consistency
- Paint color match, texture, and absence of defects (orange peel, dust inclusions, runs)
- All lights, locks, windows, and mirrors functioning
- Post-repair scan showing no active fault codes
- Interior cleanliness, no compound or residue on surfaces
- Warranty documentation
Do your own walk-around at pickup. Check the car in natural daylight, not fluorescent shop lighting, paint defects and panel alignment issues show up completely differently in real light. Raise any concerns before you drive away. Once you leave the lot, the conversation gets harder.
How long does the collision repair process take?
Timeline is the first thing most people ask at intake. The honest answer: it depends almost entirely on damage severity, parts availability, and shop backlog.
For a rough frame of reference: minor cosmetic repairs run 3-5 business days. Moderate damage involving one to three panels typically takes 1-2 weeks. Severe structural damage with multiple affected systems can stretch to 3-6 weeks or more. Parts delays and insurance supplement approval are the two biggest wild cards.

| Damage severity | Typical timeline | Key variables |
|---|---|---|
| Minor (cosmetic only, no structural) | 3–5 business days | Paint cure time, parts availability |
| Moderate (1–3 panels, possible supplement) | 1–2 weeks | Supplement approval, part lead times |
| Severe (structural damage, multiple systems) | 3–6 weeks | Supplement cycles, structural repair time, ADAS calibration |
| Total loss dispute or complex insurance negotiation | Variable | Adjuster availability, appraisal process |
Parts availability has become a real variable since 2021. Supply chain gaps affect lead times for both OEM and aftermarket parts, and one backordered component can add a week to an otherwise clean repair.
Get a written timeline estimate at authorization. Ask specifically what would cause delays, shops can't always control parts lead times, but they should be communicating proactively when things slip.
Key takeaways
The collision repair process follows a logical seven-stage sequence. Once you know what each stage involves, you can set realistic expectations, ask sharper questions, and recognize when something isn't right.
A few things worth keeping in mind:
- Preliminary estimates change. Hidden damage is the norm in moderate collisions, not the exception. Supplement requests after disassembly are a normal part of the process.
- Structure comes before surface. Frame and structural corrections happen before any body panel or paint work. Shops that skip structural verification produce vehicles that look repaired but aren't.
- Parts decisions affect cost and fit. OEM, aftermarket, and recycled parts each have trade-offs. Car owners with strong preferences should confirm coverage with their insurer before authorizing work.
- ADAS calibration is not optional on modern vehicles. Any repair that moves sensors requires calibration. Skipping it reduces the effectiveness of safety systems designed to prevent the next collision.
- The final walk-around matters. Car owners who inspect their vehicle carefully at pickup, in natural light, before driving away, are far more likely to catch any issues while the shop can still address them.
For car owners handling an insurance claim alongside the repair process, understanding both processes in parallel reduces delays and billing disputes. Find qualified collision repair shops in your area to compare estimates and verify capabilities before authorizing work.
Frequently asked questions
What are the steps in the collision repair process?
The collision repair process involves seven stages: damage assessment and estimating, disassembly and hidden damage discovery, structural and frame repair, body panel repair and replacement, paint preparation and refinishing, reassembly and mechanical checks, and ADAS calibration with final quality inspection. Each stage must be completed in sequence.
How long does collision repair take from start to finish?
Minor cosmetic repairs take 3 to 5 business days. Moderate damage with possible supplemental repairs commonly takes 1 to 2 weeks. Severe structural damage with multiple systems affected can take 3 to 6 weeks or longer. Parts availability and insurance approval cycles are the most common causes of timeline extension.
Why did my repair estimate increase after teardown?
Preliminary estimates cover only visible damage. Once technicians disassemble the vehicle, hidden damage becomes apparent, bent reinforcement bars, damaged mounting points, impacted wiring, and compromised inner structure are all common findings. Supplement requests after teardown are a normal part of the collision repair process, not a sign of overcharging.
What is a supplement in collision repair?
A supplement is an updated estimate that adds newly discovered repair operations to the original preliminary estimate. Shops submit supplements to insurance adjusters when teardown reveals damage not covered in the initial authorization. Most moderate to severe collision repairs generate at least one supplement.
Do all collision repairs require ADAS calibration?
Not all repairs require calibration, but any repair that moves components near sensor mounting points does. This includes bumper replacements, windshield replacements, quarter panel repairs, and most front-end collisions. On 2018 and newer vehicles, calibration requirements are now common even in moderate repairs. Ask the shop which procedures apply to your vehicle.
Can car owners visit the shop during the repair process?
Most shops allow owners to check in on their vehicle, though some request advance notice so a technician is available to answer questions. The most useful times to visit are after disassembly, to understand the full damage scope, and at pickup to conduct the final walk-around inspection.
For further reference on repair standards and consumer protections: