The best headlight restoration kit for most cars is the Cerakote Ceramic Headlight Restoration Kit, which uses a ceramic coating that outlasts every wipe-on and spray competitor we evaluated. For severely oxidized lenses that need aggressive correction, the 3M Headlight Lens Restoration System with its drill-powered sanding discs removes damage that hand-applied kits can't reach. Both cost under $25 and take less than an hour per pair of headlights.
Key Takeaways
- Foggy headlights can reduce light output by up to 70%, creating a measurable safety hazard. Nearly 50% of driving accidents happen at night, and degraded headlights make that worse (NHTSA Lighting Safety Report, 2024).
- Cerakote Ceramic ($20-25) is our top pick because its ceramic finish lasts 1-2+ years, compared to 3-6 months for most compound-only kits.
- For heavy oxidation, the 3M Lens Restoration System ($10-15) with a drill attachment removes deep yellowing that hand kits can't fix.
- Sylvania Headlight Restoration Kit ($15-20) offers the best all-around value with its surface activator that breaks down oxidation before sanding.
- Every kit works better with a UV sealant final step. Without it, restored headlights re-fog within 3-6 months.
Why Headlights Get Foggy in the First Place
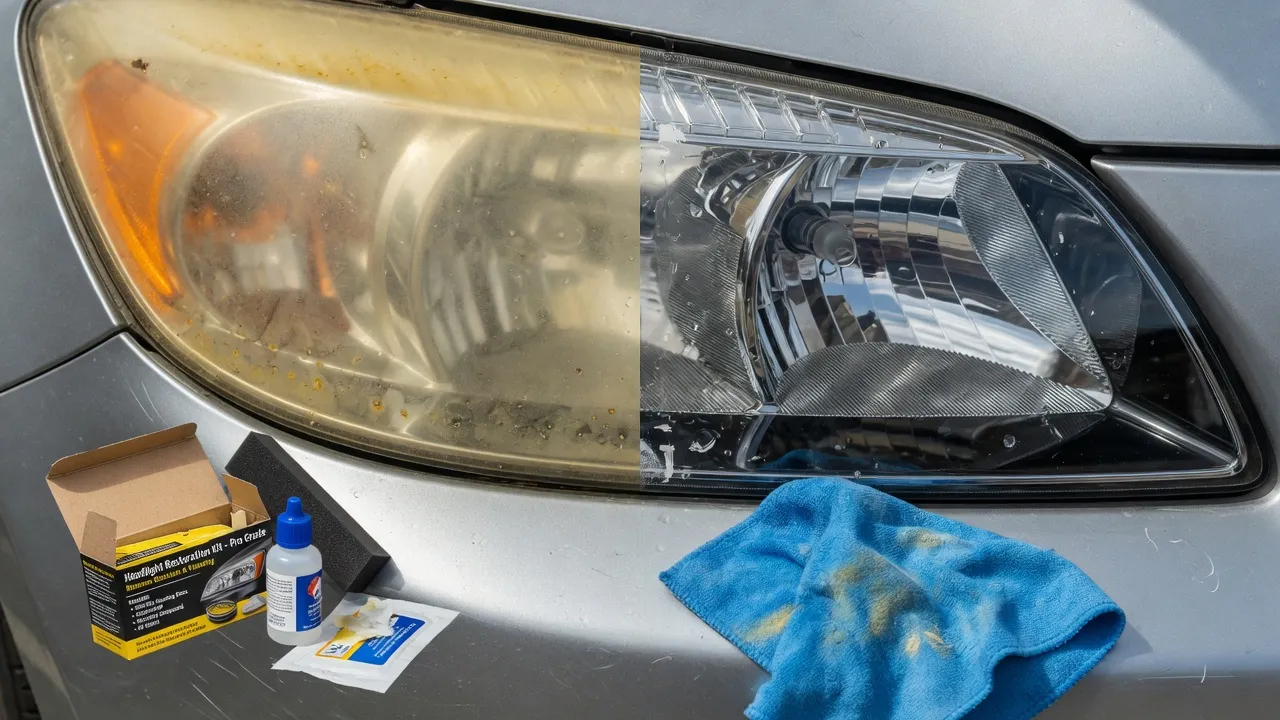
Modern headlights are made from polycarbonate plastic, not glass. Manufacturers apply a clear UV-protective coating at the factory, but over time that coating breaks down from sun exposure, road debris, and salt. Once the coating is gone, ultraviolet radiation attacks the polycarbonate directly, breaking the polymer bonds and causing the lens surface to oxidize, yellow, and haze over.
Most headlights start showing visible degradation after 5 to 7 years, but cars parked outside in sunny climates like Arizona, Florida, or Texas can develop noticeable fogging within 3 to 4 years. The progression is gradual enough that many drivers don't notice until the light output has dropped significantly.
The safety implication is real. Severely oxidized headlights can reduce light output by 40 to 70%, which directly affects how far ahead you can see at night and how visible your car is to oncoming traffic. According to NHTSA data, nearly 50% of driving accidents happen at night, and degraded headlights contribute to visibility-related safety failures. Restoration isn't just cosmetic. It's a safety repair that costs a fraction of replacing the entire headlight assembly, which typically runs $150 to $400 per lens.
Our Top 4 Headlight Restoration Kits for 2026
Cerakote Ceramic Headlight Restoration Kit: Best Overall
The Cerakote kit stands apart because of what happens after you remove the oxidation. While most kits leave the bare polycarbonate exposed (or seal it with a temporary spray), Cerakote applies a ceramic coating that chemically bonds to the lens surface. This ceramic layer blocks UV radiation and repels water, keeping headlights clear for one to two years or longer in real-world use. Over 71,000 Amazon reviews back up the durability claim.
The kit includes oxidation remover wipes, a ceramic coating applicator, and prep pads. No drill required. Application takes about 20 to 30 minutes per pair. The trade-off is that the Cerakote wipes work through chemical oxidation removal rather than mechanical abrasion, which means they struggle with severely yellowed or deeply pitted lenses. For light to moderate haze, however, this is the kit to buy.
- Price: $20 to $25
- Difficulty: Easy, no tools needed
- Best for: Light to moderate oxidation, longest-lasting results
- Duration of results: 1 to 2+ years
- Limitation: Chemical removal can't handle heavy oxidation
3M Headlight Lens Restoration System: Best for Heavy Oxidation
The 3M system is built around drill-activated sanding discs in three progressive grits (500, 800, and 3000) followed by a machine-applied polishing compound. The drill is what makes this kit fundamentally different. Mechanical abrasion cuts through deep yellowing and pitting that hand-applied chemicals can't penetrate. If your headlights look opaque rather than just hazy, this is the kit that will actually fix them.
The downsides are that you need a power drill with a standard chuck, the process requires more care to avoid scratching surrounding paint (use painter's tape), and there is no long-lasting UV sealant included. The restored clarity is excellent, but without applying a separate UV coating afterward, the lenses will start re-oxidizing within 3 to 6 months. Pair it with a standalone UV spray sealant or the Cerakote coating wipes for lasting results.
- Price: $10 to $15
- Difficulty: Moderate, requires a drill
- Best for: Severely oxidized, deeply yellowed, or pitted lenses
- Duration of results: 3 to 6 months without additional UV sealant
- Limitation: No UV sealant included, requires power drill
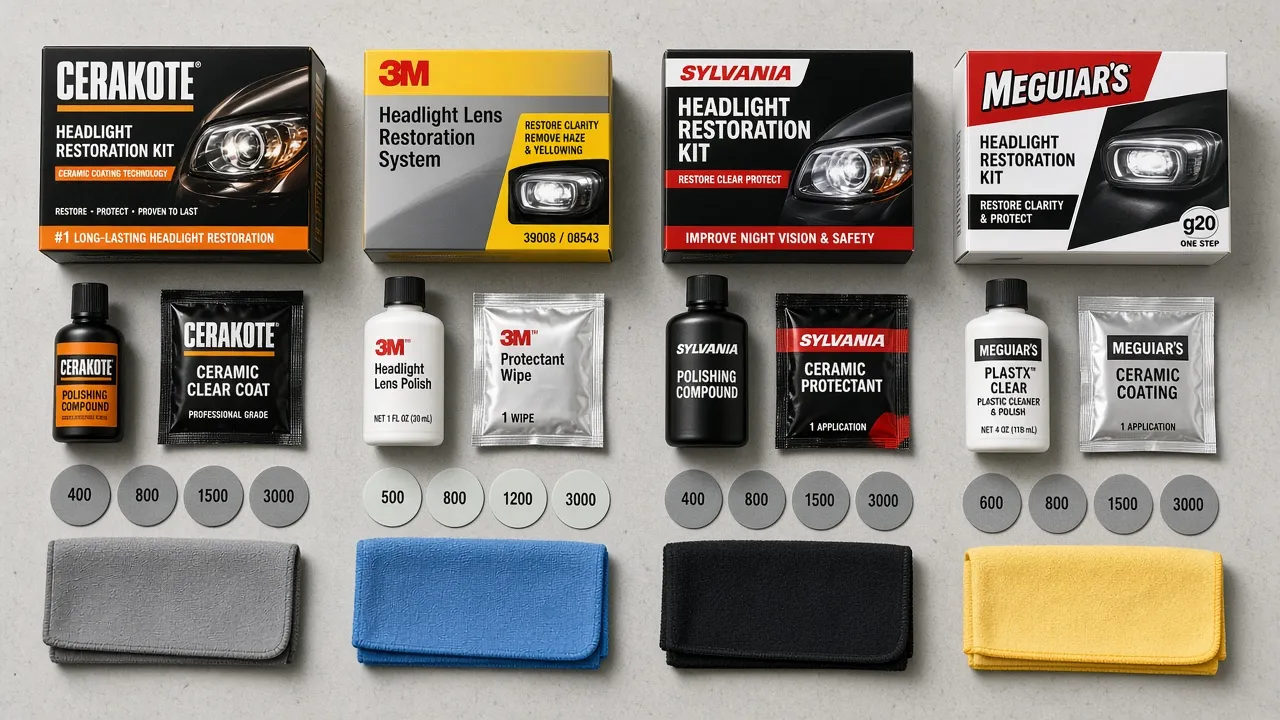
Sylvania Headlight Restoration Kit: Best Value
The Sylvania kit hits the sweet spot between the Cerakote's simplicity and the 3M's correction power. Its standout feature is a surface activator solution that softens and breaks down the oxidation layer before you begin sanding, which reduces the effort needed and produces a more even result. The kit includes the activator, three grades of sandpaper, clarifying compound, and a UV block clear coat.
That UV block clear coat is the reason Sylvania earns the best value pick. Most kits in this price range either skip the UV protection entirely or include a spray that wears off in weeks. Sylvania's coating holds for 6 to 12 months in typical conditions, which is significantly better than compound-only kits. The kit handles light to moderate oxidation well and can manage moderately heavy yellowing with extra sanding time.
- Price: $15 to $20
- Difficulty: Easy to moderate, hand-applied
- Best for: Light to moderately heavy oxidation, best included UV sealant
- Duration of results: 6 to 12 months with UV coating
- Limitation: Hand sanding requires patience on heavily oxidized lenses
Meguiar's Perfect Clarity Headlight Restoration Kit: Best No-Tool Option
The Meguiar's kit is the easiest to use. No drill, no sandpaper, no activator solutions. The system uses PlastX compound on pre-saturated sanding pads followed by a headlight coating to seal the surface. You hand-buff with the included pads and apply the sealant. Done in 15 to 20 minutes.
The simplicity comes with trade-offs. Without progressive-grit sandpaper, the Meguiar's compound removes only surface-level haze. Moderately oxidized headlights will improve noticeably but may not return to full clarity. The included sealant coating lasts roughly 3 to 6 months. This is the kit for someone who wants a noticeable improvement with minimal effort and doesn't mind reapplying a few times a year.
- Price: $15 to $20
- Difficulty: Very easy, no tools of any kind
- Best for: Light haze, first-time users, quick improvement
- Duration of results: 3 to 6 months
- Limitation: Can't handle moderate to heavy oxidation
Which Kit Should You Buy?
Match the kit to the damage level. Choosing wrong means either spending more than you need or getting results that disappoint.
- Light haze or slight yellowing: Cerakote Ceramic or Meguiar's Perfect Clarity. Both handle surface-level oxidation without sanding, and the Cerakote's ceramic finish lasts the longest.
- Moderate yellowing: Sylvania Headlight Restoration Kit. The surface activator plus sandpaper plus UV block coat is the right combination for headlights that are clearly degraded but not opaque.
- Heavy oxidation or deep pitting: 3M Lens Restoration System with a drill. Then apply a standalone UV sealant or Cerakote wipes as a second step to protect the results.
- Beyond DIY: If the polycarbonate is cracked, has internal moisture, or the reflector housing is damaged, no restoration kit will fix it. You need a replacement assembly.
How to Get the Best Results from Any Kit
The technique matters as much as the product. These steps apply to every kit we tested.
Wash and dry the headlights first. Dirt particles trapped under sanding pads create deeper scratches. Use automotive soap, rinse thoroughly, and dry completely before starting.
Tape off the surrounding paint. Painter's tape or automotive masking tape protects fenders, hoods, and bumper edges from accidental sanding or compound splatter. This takes two minutes and prevents damage that costs far more to fix than the headlight restoration itself.
Work in the shade. Direct sunlight causes compounds and sealants to dry too quickly, which creates streaking and uneven results. A garage or covered area is ideal. If you must work outdoors, choose an overcast day or early morning.
Sand in one direction, not circles. When using sandpaper kits, sand horizontally on the first grit and vertically on the second. This cross-hatch pattern ensures even material removal and lets you see when the previous grit's scratches are fully erased.
Apply UV sealant within 10 minutes of polishing. Bare polycarbonate begins re-oxidizing immediately once exposed to air. Apply the UV coating or ceramic sealant while the surface is freshly polished and clean. For kits that include a UV step, don't skip it. For kits that don't, buy a standalone UV spray sealant. This single step is the difference between results that last months and results that last weeks.
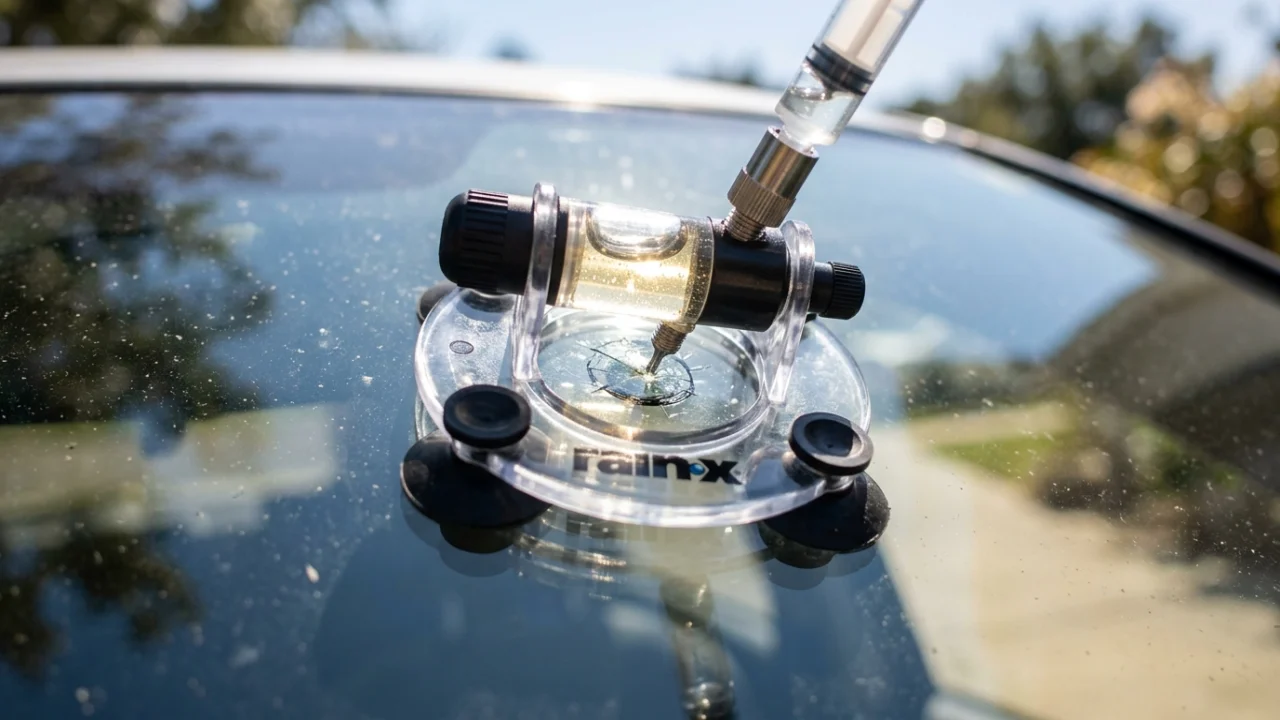
For related auto body repair needs beyond headlights, compare your options on certifications and reviews rather than price alone. If your windshield also has chips from the same road debris that scratched your headlights, see our guide to windshield repair kits for a similar DIY fix.
Headlight Restoration vs Replacement: When to Skip the Kit
Restoration kits are the right call for surface oxidation and UV damage, which accounts for the vast majority of foggy headlights. But there are situations where a kit is a waste of money.
Internal moisture or condensation means the headlight housing seal has failed. No external treatment will fix water that's inside the assembly. The housing needs to be replaced or resealed.
Deep cracks or physical damage to the polycarbonate lens compromise structural integrity. Restoration can make it look better temporarily, but the crack will continue to spread and eventually fail inspection in states that check headlight condition.
Reflector damage inside the housing reduces light output regardless of lens clarity. If the headlights are clear after restoration but still seem dim, the reflector coating has degraded. Replacement is the only fix.
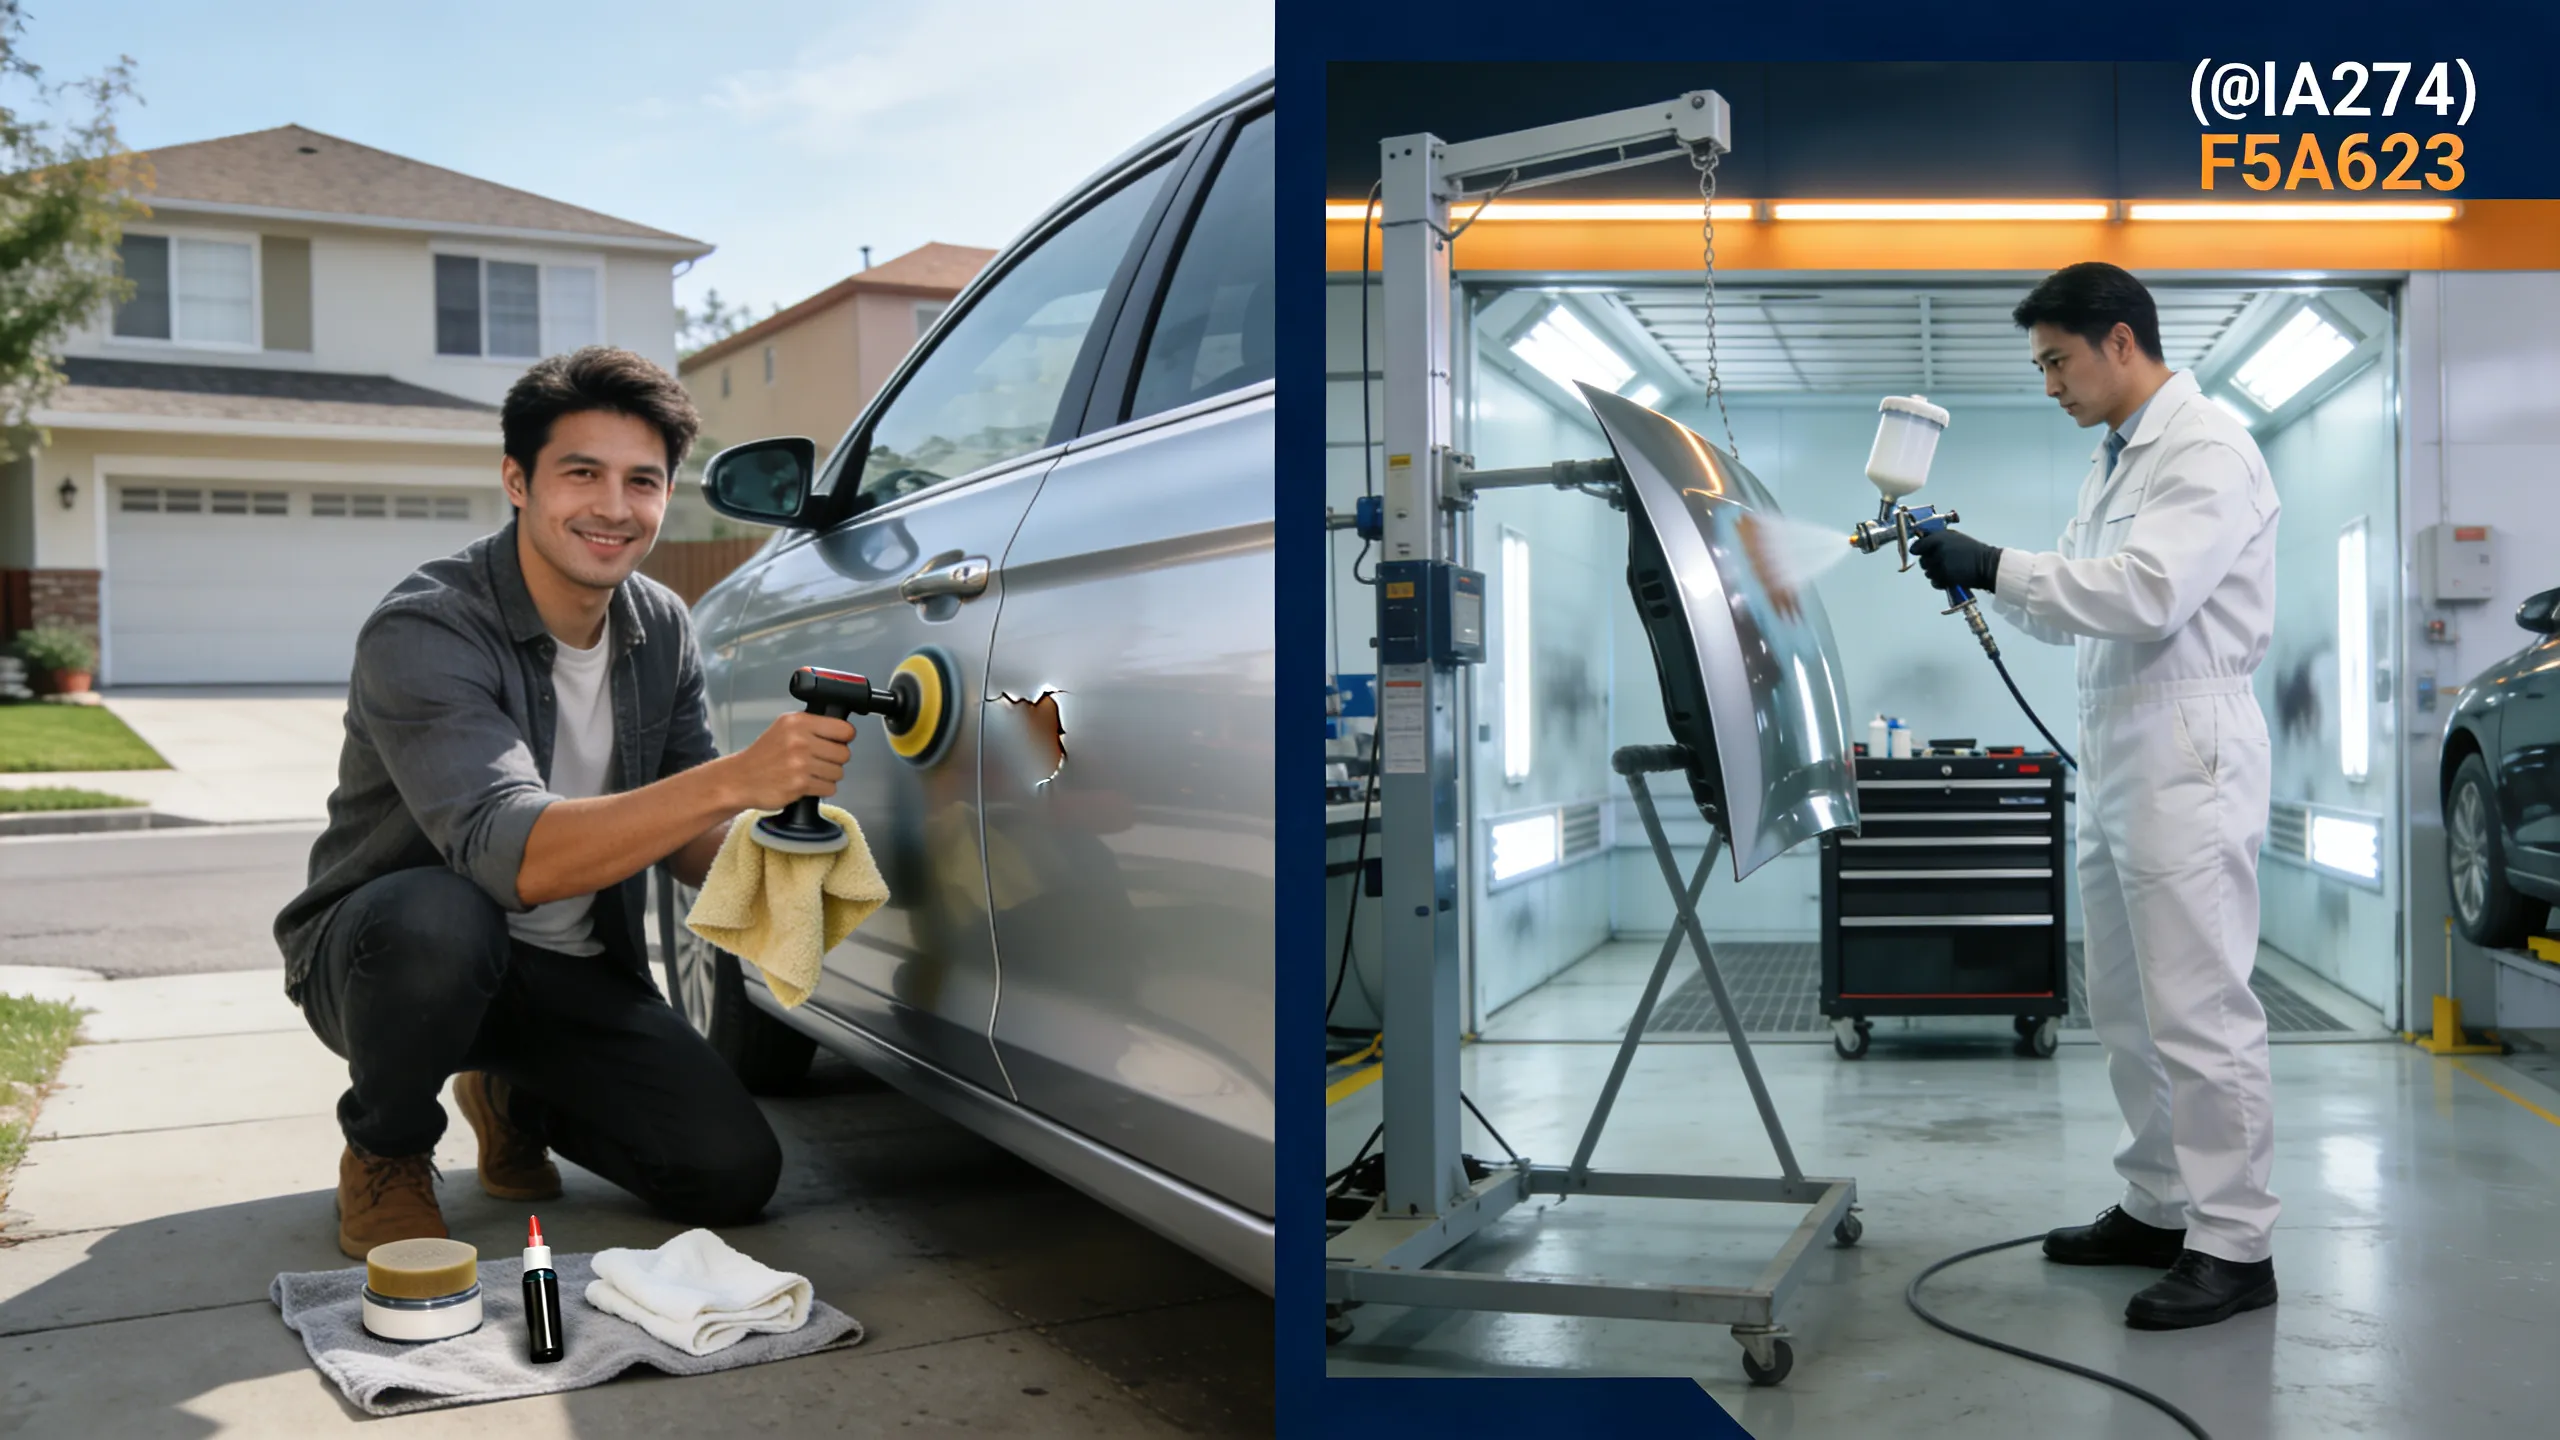
Replacement headlight assemblies range from $80 to $400+ per side depending on the vehicle, with aftermarket options on the lower end and OEM on the higher end. Compare that to a $10-25 restoration kit and 30 minutes of work. For vehicles with nothing more than surface oxidation, the kit is the smarter investment. For more cost context on automotive exterior repairs, see our full DIY vs professional body repair comparison.
Protecting Results After Restoration
Even the best restoration is temporary without ongoing protection. Here's how to extend your results.
Park in shade when possible. UV exposure is the primary cause of re-oxidation. A garage, carport, or even a tree's shade makes a measurable difference.
Apply UV spray sealant every 3 to 6 months. A $5 can of Spraymax 2K or Rust-Oleum clear UV spray takes five minutes and resets the UV protection clock. This is the single highest-return maintenance step.
Wax the headlights when you wax the car. Regular automotive wax adds a thin sacrificial layer that slows UV degradation between sealant applications. It's not a substitute for proper UV coating, but it helps.
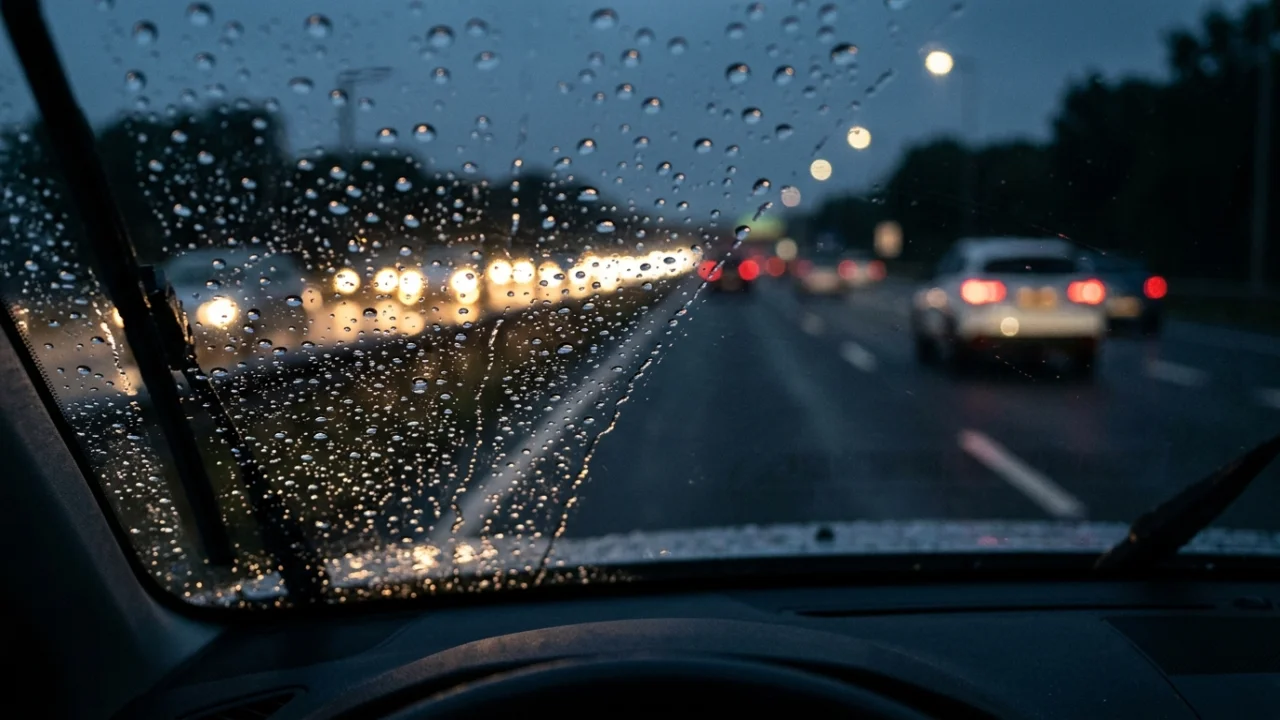
Consider PPF for long-term protection. A pre-cut paint protection film for headlights runs $30 to $60 and blocks UV exposure for 5 to 7 years. For newer cars or freshly restored headlights, it's the most effective long-term solution. See our guide to rain repellents for windshields for related glass protection products.
Frequently Asked Questions
How long does headlight restoration last?
Results last anywhere from 3 months to 2+ years depending on the kit and whether a UV sealant is applied. Compound-only kits like Meguiar's last 3 to 6 months. Sylvania's included UV block coat extends results to 6 to 12 months. Cerakote's ceramic coating lasts 1 to 2+ years. Without any UV protection, bare polycarbonate starts re-oxidizing within weeks.
Do headlight restoration kits really work?
Yes, for surface oxidation and UV damage, which is the cause of fogging in the vast majority of cases. Kits with sandpaper or chemical oxidation removers strip the degraded layer, and a UV sealant prevents rapid re-oxidation. They don't work for internal moisture, cracked housings, or damaged reflectors, which require headlight replacement.
Can I use toothpaste to restore headlights?
Toothpaste contains a mild abrasive that can remove very light surface haze, but it's far less effective than purpose-built kits. It has no UV protection, so any improvement fades within days to weeks. For anything beyond the lightest surface film, a dedicated kit with proper compounds and UV sealant delivers dramatically better and longer-lasting results for a comparable amount of effort.
Do I need a drill for headlight restoration?
Only for heavily oxidized headlights. The 3M Lens Restoration System requires a drill and delivers the deepest correction. For light to moderate haze, hand-applied kits like Cerakote, Sylvania, and Meguiar's work well without any power tools. If your headlights are merely yellowed rather than opaque, a hand kit is sufficient.
Is it cheaper to restore headlights or replace them?
Restoration is significantly cheaper. Kits cost $10 to $25 and take 20 to 45 minutes. Replacement headlight assemblies cost $80 to $400+ per side, plus $50 to $150 for professional installation if you can't do it yourself. For surface oxidation, restoration is the clear winner. Replacement makes sense only when the housing is cracked, sealed poorly with internal moisture, or the internal reflector is damaged.